Thursday, October 30, 2008

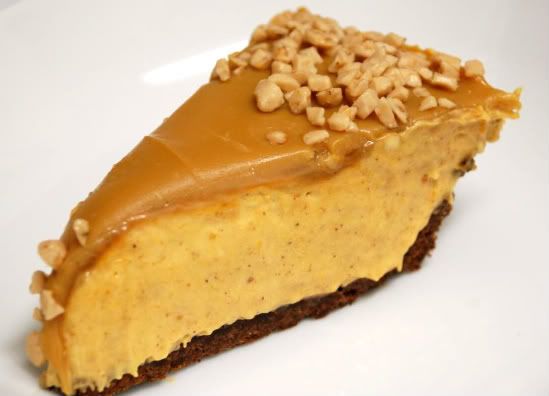
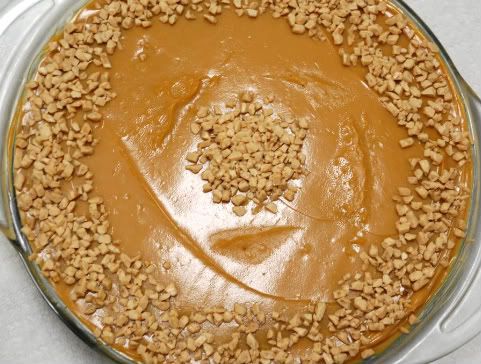
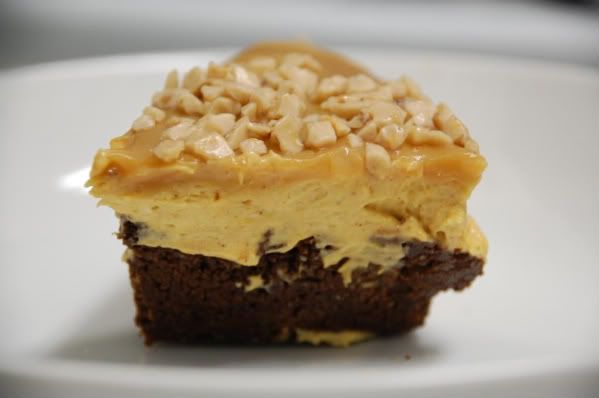
Dulce de Leche Pumpkin Swirl Cheese Pie

Susan over at Sticky, Gooey, Creamy, Chewy is officially my idol. Well, she's always been my idol because all of her dishes and desserts are absolutely fantastic. However, this pumpkin cheese pie was the ultimate end to all pies involving pumpkin. She didn't follow a recipe and just kind of whipped this up. That's where my interest came in.  I saw this and absolutely had to make it and boy, were my co-workers glad I did! This pie went faster than the speed of light and took a total of about 20 minutes to make, if that. 

I made a few changes: I used 1/2 mascarpone cheese and 1/2 cream cheese rather than doing all cream cheese.  I also added in some pumpkin pie spice to, er, spice it up. Lastly, I made a chocolate crust using chocolate teddy grahams rather than a sugar cookie crust. You can get creative here and really use any type of crust as these flavors pair up with practically anything crust-worthy. The combining flavors of dulce de leche, toffee, and pumpkin should seriously be illegal, it's that's good.  
Aside from the several hours of refrigeration period that this recipe requires, this pie is no-bake, with the exception to the crust. Therefore, the assembly of this pie literally comes together in a matter of minutes.  If you're looking for something a little different than your typical pumpkin pie this Thanksgiving, I highly suggest you try this.  Your guests will thank you later...and then you'll thank me...than Susan...

For the crust:

2 cups sugar cookie crumbs (pulverize 6-8 large sugar cookies in the food processor)

1/2 teaspoon ground cinnamon

6 tablespoons unsalted butter, melted

In a medium bowl, mix cookie crumbs, cinnamon and melted butter until well blended. Press mixture into an 8 or 9 inch pie plate.

Bake at 350 degrees F for 10 minutes. Cool.

For the filling:

2 8-ounce packages of cream cheese, softened

2/3 cup sugar ( Use more or less according to your taste)

1 cup pumpkin puree

1 teaspoon ground cinnamon

1/4 teaspoon ground ginger

1/4 teaspoon ground nutmeg

1/2 cup toffee bits

2 cups dulce de leche or caramel sauce of your choice, divided.  (You may have to soften the dulce de leche to make it "swirlable".  I microwaved mine on 50% power for about 10-15 seconds.)

Beat cream cheese and sugar together on medium speed until fluffy, about 2 minutes.  Add pumpkin, cinnamon, ginger and nutmeg and beat until completely combined.

Mix in the toffee bits and swirl in 1 cup of the dulce de leche or caramel sauce. 

Pour the filling into the pie plate and smooth it out.  Refrigerate until firm, about 4 hours.

Spread the second cup of dulce de leche or caramel sauce evenly over the top of the pie. 

If desired, use another 1/2 cup of dulce de leche to pipe rosettes or other design on top of the pie. 

Chill until the topping is firm.

Wednesday, October 29, 2008

Classic Brownies


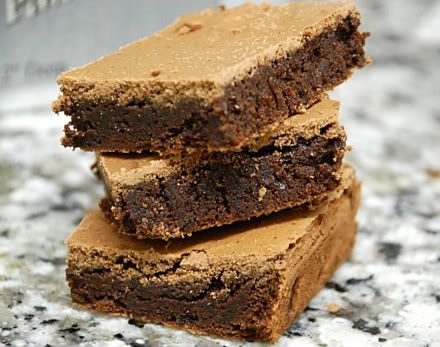
Another one of the several desserts I made last week for my mini apartment party were these classical chocolate brownies. These brownies are so good that I would almost suggest you not adding anything to them. As difficult as that is for me to say (I'm a big fan of the "fix ins), these brownies absolutely do not need anything.  I've never made brownies that baked so beautifully before. They have a perfect flaky top layer (with no cracks) followed by a rich, moist, fudgy, dense center.  These brownies are the epitome of classic chocolate brownies and I would highly recommend pairing them with vanilla ice cream! I baked these for a little less than the recommended time (around 23 mins) and they came out perfectly. I would suggest keeping an eye on them once the timer hits around 18 mins to ensure optimal taste and fudgy-ness. You don't want to over bake these bad boys...

MMMMMM...BROWNIES
Orignal recipe found here

INGREDIENTS:
1/2 cup white sugar
2 tablespoons butter
2 tablespoons water
1 1/2 cups semisweet
chocolate chips
2 eggs
1/2 teaspoon vanilla extract
2/3 cup all-purpose flour
1/4 teaspoon baking soda
1/2 teaspoon salt
DIRECTIONS:
1.Preheat the oven to 325 degrees F (165 degrees C). Grease an 8x8 inch square pan.
2.In a medium saucepan, combine the sugar, butter and water. Cook over medium heat until boiling. Remove from heat and stir in chocolate chips until melted and smooth. Mix in the eggs and vanilla. Combine the flour, baking soda and salt; stir into the chocolate mixture. Spread evenly into the prepared pan.
3.Bake for 25 to 30 minutes in the preheated oven, until brownies set up. Do not over bake! Cool in pan and cut into squares.


The Best Chocolate Chip Cookies...Ever!


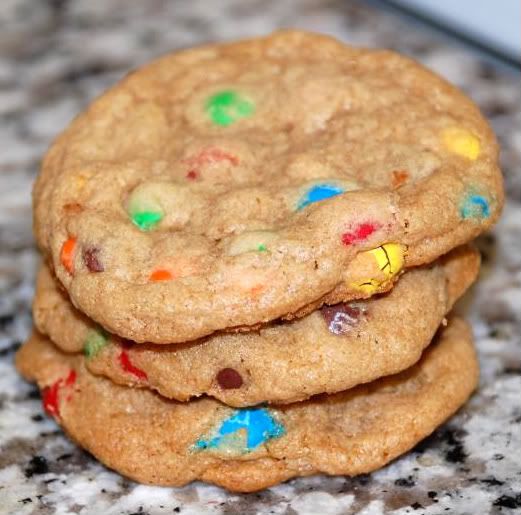
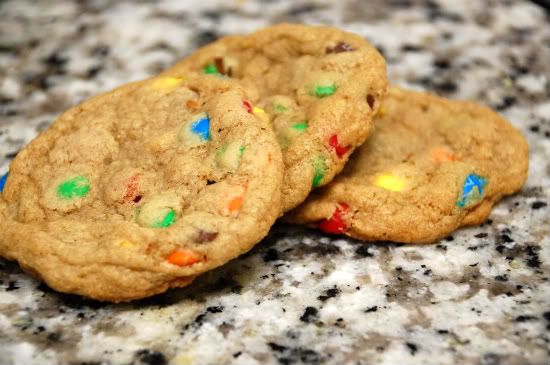
While I realize the title of this post contains the words "chocolate chip" in it, I went ahead and substituted mini M&M's instead. However, this is by far the best chocolate chip recipe I've come across, hands down.  They are slightly crispy on the outside and moist and chewy on the inside. These cookies have that "just out of the oven" taste even days after they are baked and they look as if they came straight from a bakery!  These cookies can harbor any kind of fix in, i.e toffee bits, peanut butter chips, nuts, etc.  I strongly advise you to make these! All of my guests last week absolutely loved these. I heard many "these are the best cookies I've ever had" comments circulating the room when I put these out. For a rounder, puffier cookie I would suggest putting the dough in the refrigerator for about an hour before baking. I baked these immediately and they were amazing. Also, the original recipe calls for you to drop the dough in 1/4 cupfuls, however, this seemed extraordinarily large to me so I knocked it down to 1/8 cupfuls and they came out to be a perfect cookie size.  Thank you Hilary for exposing such an unbelievable recipe!

BIG FAT CHEWY CHOCOLATE CHIP COOKIES
Courtesy of Hilary at Allrecipes.com
INGREDIENTS:
2 cups all-purpose flour
1/2 teaspoon baking soda
1/2 teaspoon salt
3/4 cup unsalted butter, melted
1 cup packed brown sugar
1/2 cup white sugar
1 tablespoon vanilla extract
1 egg
1 egg yolk
2 cups semisweet chocolate
chips
DIRECTIONS:
1.Preheat the oven to 325 degrees F (165 degrees C). Grease cookie sheets or line with parchment paper.
2.Sift together the flour, baking soda and salt; set aside.
3.In a medium bowl, cream together the melted butter, brown sugar and white sugar until well blended. Beat in the vanilla, egg, and egg yolk until light and creamy. Mix in the sifted ingredients until just blended. Stir in the chocolate chips by hand using a wooden spoon. Drop cookie dough 1/8 cup at a time onto the prepared cookie sheets. Cookies should be about 3 inches apart.
4.Bake for 15 to 17 minutes in the preheated oven, or until the edges are lightly toasted. Cool on baking sheets for a few minutes before transferring to wire racks to cool completely.

Blondie Bites


For my party last week, I wanted to make something brownie-ish but bite sized; because lets face it, good things come in small packages! I found this blondie recipe and made them in bite sized mini muffin tins.  Instead of the walnuts and dried cranberries/cherries, I substituted peanut butter chips and toffee bits for a sweeter taste. I did this by doubling the fix-ins (coconut, chocolate chips, pb chips, and toffee bits) for both the batter and the topping before being baked. These were bite-sized yummies that made it virtually impossible to create crumbs thus resulting in an easier cleanup after an apartment filled with 25+ people. I presented these in a big wicker basket with an array of cookies. 

If you're looking for something quick, easy, tasty, and of course, bite sized then go with these!

Tuesday, October 28, 2008

TWD:Chocolate Chocolate Cupcakes


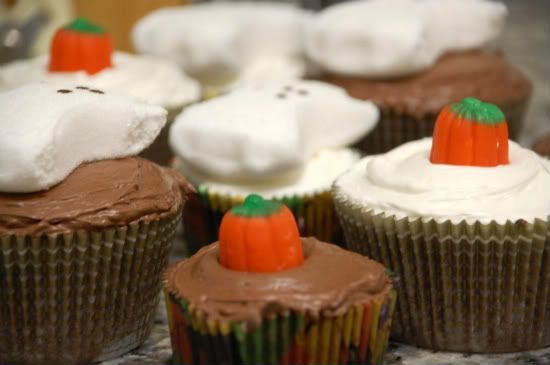
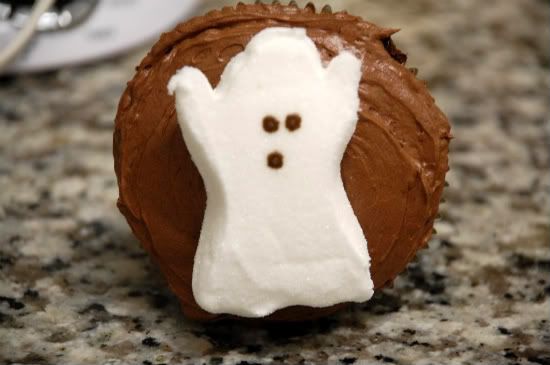
This week's TWD recipe was chosen by Clara over at I Heart Food For Thought. Clara chose Dorie's chocolate chocolate cupcakes which were a perfect excuse for me to make Halloween-themed cuppies! I really wish I spent more time on these but I did so much baking and cooking this past week, as mentioned in the previous post, that I really just wanted this recipe to be as simple as possible. On Thursday I plan to remake these and get really creative with the decorating. Anyway, these cupcakes were OK. Unfortunately, I've had way better chocolate cupcakes than these. While I under baked them by  5 minutes, I still found them to be a tad bit dry and not as tasty as I would have preferred for your typical chocolate cupcake. I personally prefer a moister less dense cupcake. These were almost brownie-like. Therefore, on Thursday, I'm going to test out another chocolate cupcake in hopes of achieving just that--a moist chocolaty rich cuppie.  Stay tuned!

 
Boo!

Monday, October 27, 2008

Tiramisu Cake


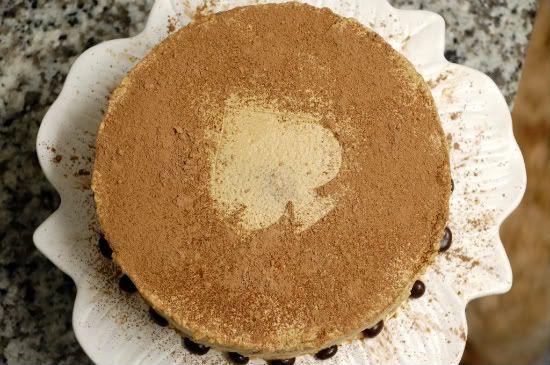
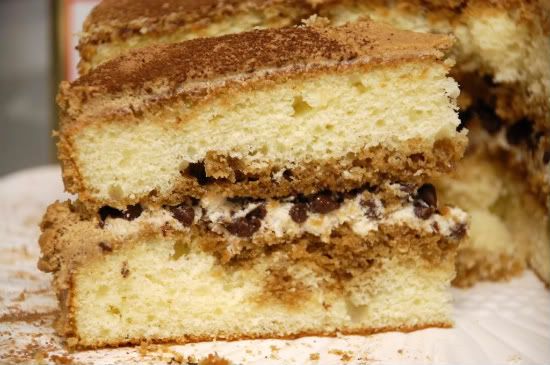
I had a big party at my apartment on Friday which included tons of Italian dishes and desserts. For dinner I made 3 pasta dishes including pesto, vodka sauce, and red sauce as well as eggplant Parmesan, chicken meatballs, cheddar chive biscuits, and an eggplant Caesar salad! The food was so delicious and the company made it that much better! Now, on to the desserts... The next few posts will include the desserts I made for Friday night. First up, Dorie Greenspan's Tiramisu Cake. I figured a Tiramisu would be a nice compliment to my Italian meal so I flipped through Dorie's "Baking: From My Home To Yours" hoping to find something down the Tiramisu avenue.  Luckily I found this cake and thank god I did. It was purely delicious with the combining flavors of espresso, coffee, whipped cream, butter cake,  a touch of chocolate shavings for an extra kick and garnished with chocolate covered espresso beans for good measure.  This cake has a funny story behind it..wanna hear it? Good.  


This cake took me about 2  days to make. I made the layers on day one and made the filling and topping on day 2; as well as spending time on the presentation. When the cake was all finished I left it out on the counter to set the robust espresso and coffee flavors before wrapping it up.  I left the kitchen for a bit to finish up some laundry during this time, only to come out and see my dog, Boomer, with a face full of whipped cream. By full of whipped cream, I mean whipped cream in his ears, nose, all of his face and collar. Shockingly, Bentley, my other pooch, didn't get in on the action.  So, I was left with half eaten tiramisu cake with literally every drop of whipped cream licked off the top and sides. Boomer stunk like espresso for days! Although this is something I could laugh about now, at the time it wasn't so funny. I was out 1lb of mascarpone cheese, a container of heavy whipped cream, chocolate shavings, and espresso powder, among other ingredients. I ended up remaking the entire cake!  If I only had a camera at the time to display the look on my puppy's face!  He looked at me as if he did nothing wrong! Too bad Halloween wasn't last week because Boomer could have unmistakeably gone as a Tiramisu cake. Recipe below.

For the cake:
2 cups cake flour
2 tsp. baking powder
1/8 tsp. baking soda
1/4 tsp. salt
1 1/4 sticks butter at room temp.
1 cup sugar
3 large eggs
1 large egg yolk
1 1/2 tsp. vanilla extract
3/4 cup buttermilk

Sift together flour, baking powder, baking soda, salt.
In a mixer, cream the butter and sugar. Add the eggs one a time, plus yolk, beating well after each addition. Reduce the mixer speed and alternatively add the flour mixture and the buttermilk. Begin and end with the dry ingredients. Pour into 2 greased 9 inch baking pans, and bake at 350 for 30 minutes.

For the espresso syrup: mix together 1/2 cup water and 1/3 cup sugar in a saucepan and heat just to a boil. Remove from heat and add 1 Tb. coffee liqueur.

For the filling and frosting:
8 oz. mascarpone
1/2 cup powdered sugar
1 1/2 tsp. vanilla
1 Tb. coffee liqueur
1 cup cold heavy cream
2 1/2 oz. bittersweet chocolate, finely chopped

Cream together the mascarpone, sugar vanilla and liqueur in a large mixing bowl, until smooth.
In a separate bowl, whip the heavy cream to firm peaks. With a light touch, fold the cream into the mascarpone mixture.

To assemble the cake: Remove the crowns of the cakes to make them flat (sorry Sam), place one cake on a plate and soak the layer with the espresso syrup. Smooth some of the mascarpone cream over, gently press the chopped chocolate on top of it. Top it with the other cake, pour the remaining of the espresso syrup.

For the frosting, dissolve 1 tsp. espresso powder and 1 tsp hot water and add to the remaining mascarpone and spread over the side and top of the cake.
Decorate with dusted cocoa powder if wanted.

Tuesday, October 21, 2008

IRON CUPCAKE EARTH: CHEESE-Vote for Me!


I joined this fabulous new group called Iron Cupcake Earth. Every month a specific ingredient is selected and everyone in the group has to bake using that ingredient. At the end of the month, all the members compete for super cool prizes including ETSY artist ART ON THE MENU with her awesome little cardboard cupcake  and a pair of cupcake earrings from Lots of Sprinkles. For October only, some more prizes include a sassy and sweet T from Bakelove Bakewear, and lastly  our corporate prize providers: HEAD CHEFS by FIESTA PRODUCTS, HELLO CUPCAKE by Karen Tack and Alan Richardson, JESSIE STEELE APRONS,  the CUPCAKE COURIER and TASTE OF HOME books. Iron Cupcake Earth is sponsored in part by 1-800-Flowers

This is my first month as an Iron Cupcake'r and clearly I got here just in time. I love cheese! There are endless opportunities in the cheese department that I couldn't wait to wrap my hands around.  For this month's Iron Cupcake challenge I went with a white chocolate pumpkin cupcake topped with a white chocolate cream cheese frosting. These were fantastic. The white chocolate chunks sank to the bottom of the cupcakes creating a white chocolate-like crust that complimented the super moist pumpkin cake.  The recipe for the pumpkin cake is found here and the recipe for the white chocolate cream cheese frosting is found here. Voting for ICE begins this Sunday, October 26th at noon (Central Time) and is open thru October 30th at noon.  You can vote for me at No One Puts Cupcakes In A Corner. If you want to become a part of this fun group click here.

Happy Voting! =)

Mandel Bread


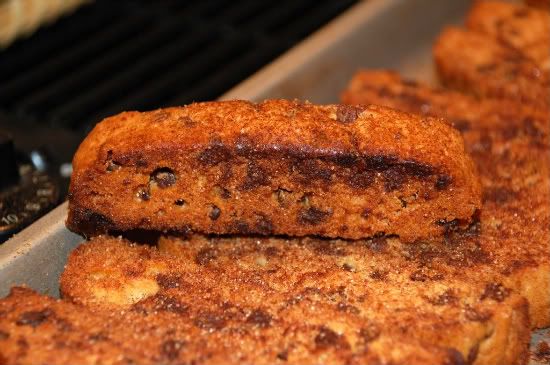
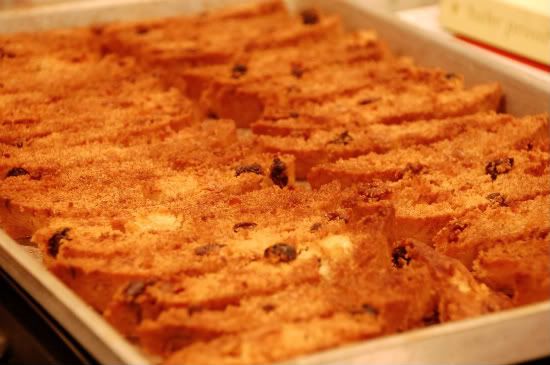
The almond biscotti that I made last week bestowed a huge guilt trip upon me. How could I spend so much time on Dorie's biscotti and not dedicate any time to my grandmother's (originally great grandmothers) mandel bread? As I fished through my parents freezer I noticed, for the first time in a very very long time, the lack of mandel bread present. I moved around the tightly packed freezer assuming it was hiding, only to find an empty, I repeat, empty tub of mandel bread.  Who in their right mind would leave just the crumbs? Why was I not notified of this lack of sweetness currently residing in my home? 


You see, mandel bread is, and always will be, a staple in my household. No matter what time of the year, 3-4-5 tubs of mandel bread are always readily available in our downstairs freezer.  The purchasing of this extra freezer was mainly in part to store mandel bread and keep it fresh all year long.  While I stood in astonishment with no mandel to nibble, I decided I would replenish the house with it's most savory generational staple.  So, after several hours of twice-baking, cooling, and cutting-mandel bread finally emerged in the downstairs freezer, where it should be.

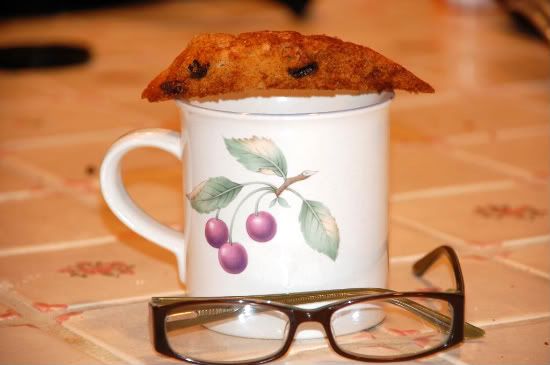
I can't post this recipe, as mentioned in an earlier post,  because I will be left for dead somewhere with my grandmother as the prime culprit. This is our family's most treasured recipe! Enjoy the pictures..


Wednesday, October 15, 2008

Sugar Gems


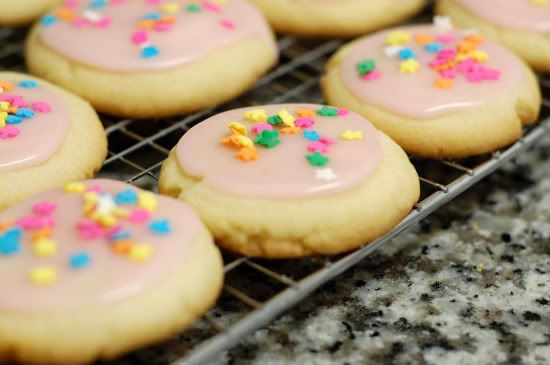
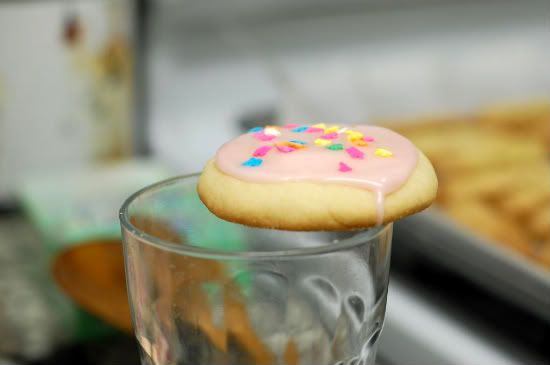
Hmmm...I'm not really sure how I feel about sugar cookies. They are always so bland and not fun. I don't understand the hype. It seems to me that every sugar cookie recipe is relatively the same comprising of, er, sugar, butter (or shortening), eggs, a pinch of salt, flour and vanilla. How, on earth,  could the combination of the aforementioned ingredients excite me? One word, bo-ring. So, when I saw this recipe from My Kitchen Cafe, I figured I'd give it a try. After all, this recipe came with an optional vanilla glaze recipe, which obviously gave me some incentive.  This is the first sugar cookie recipe that I've seen that uses oil. I halved this recipe because, well, I didn't have a need for 4,000 cookies to be floating around my apartment and I really just wanted to taste test. Also, this recipe seemed criminally easy.


The outcome?...These were OK and I'm keeping my stand on this whole sugar cookie phenomenon.  The vanilla glaze was really good but the actual cookie was just lame.  Apparently my co-workers disagreed and thought the cookies were outrageous. Perhaps our taste-buds differ. 

If you feel inclined to make these, I'd love to hear your feedback.

Brownie Heaven


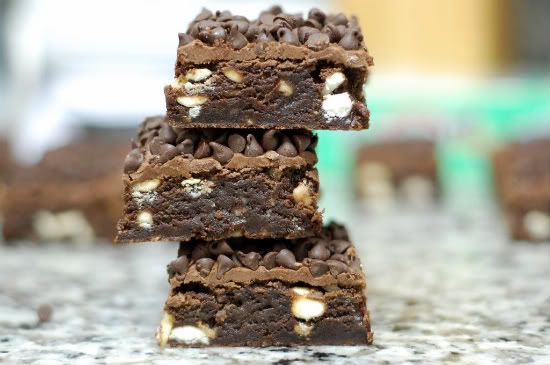
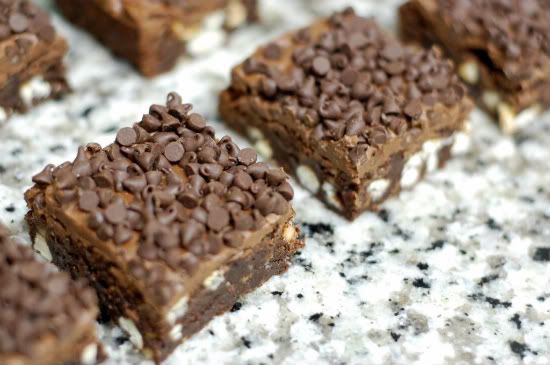
This post is somewhat redundant as it's the same recipe as this post, however with a little attitude. Instead of the chocolate shavings and curls that I used last time, I sprinkled with mini chocolate chips.  I chose to stay with the toffee bits and white chocolate mix ins because I love this combo, however, I added about 1 cup of Hershey's dark chocolate syrup to the batter. Wow, these were sooooooo good. The syrup made them super fudgy.  I also cut them into larger blocks and served them at my Yom Kippur break-fast last week. One of my co-workers loved these so much the last time I brought them in that he kindly asked if I'd make him a batch for his break-fast.  They were a huge hit at both locations! I'll post the recipe when I get a chance.


Tuesday, October 14, 2008

Rainbow Cake


Birthday cakes seem to be my forte. I really enjoy making and creating them, especially for little kids. Erin, who turned 2 last week, celebrated her birthday with this really cool rainbow birthday sheet cake that I made!  The inside was made up of 2 layers of yellow cake which were then filled and topped with a delicious vanilla buttercream.  I tinted the buttercream all different colors to compliment the rainbow, border shells, balloons, and writing.  Overall I'm very pleased with this cake! The feedback from the party was tremendous as everyone loved the cake! Erin's theme was Strawberry Shortcake so I think this cake fit in quite appropriately! The cake fed about 20 people and there was still so much left over that everyone went home with doggie bags! For next time I have to assume that an 11X19 inch double layered sheet cake could easily feed 30+ people!  As if this cake wasn't enough, I thought is would be cute to make some pink and white swirled mini and regular sized cuppies which went on to surround the 4 edges of the cake.  The pink and white swirls fit in perfectly with the Strawberry Shortcake theme and were super fun to make. Here are a few pictures:

mini swirl cuppie


birds-eye view


Erin with her cake!


Pretty slice!

TWD:Lenox Almond Biscotti


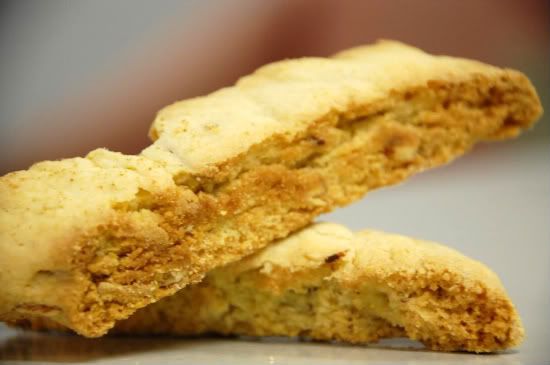
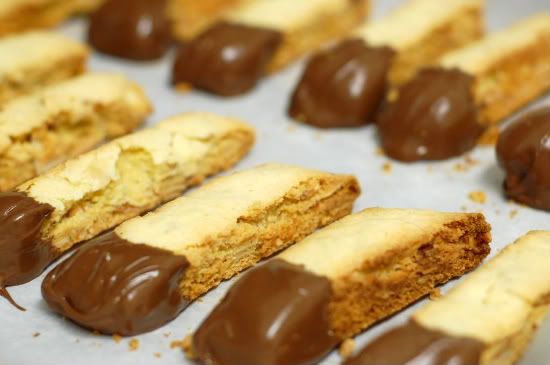
First let me thank Gretchen from Canela & Comino for picking this week's recipe! Biscotti is always something I've wanted to make but never got around to it because my heart lies with mandel bread. Because they are so similar, I decided that if I was going to put effort and time into biscotti than I may as well put it into my great grandmother's mandel bread; which is, inconsequently, the very best mandel on this planet. Lucky for me, Gretchen made my fears of devoting my time to biscotti all worth while! These were excellent. I loved the crunchy nature of these finger-like cookies.  The almond flavor was so fragrant and delicious that my entire apartment smelled like a bakery upon cooking. If I could only bottle up my apartment's aroma and use it as an air freshener! For the record, I officially LOVE almond flavors and plan to vigorously incorporate it into my future baking adventures, so stay tuned for almond-filled goodness.


I dipped a few biscotti's in milk chocolate which was good, but I quickly stopped dipping the entire batch because the chocolate was taking away from the fabulous almond flavor.  Check out Gretchen's blog for the recipe.

Monday, October 13, 2008

Oreo Cream Brownies


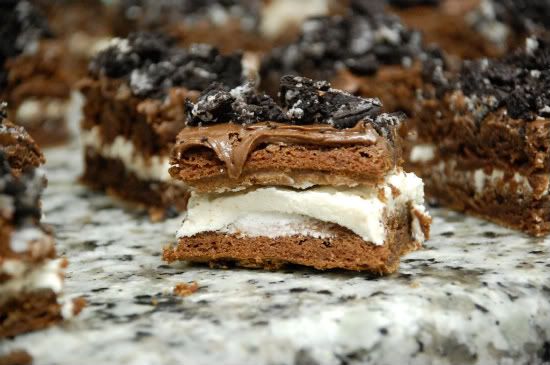
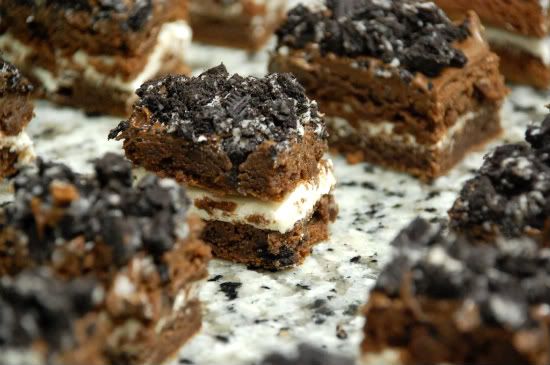
OK, so.....for a while now I've been envisioning an Oreo type cookie only in brownie form.  Aesthetically these didn't come out exactly how I imagined but I plan to make them again and perfect them. However, the taste was dead-on!  I used this brownie recipe which was super easy and quick and baked them in an 11X15 cookie/jelly roll sheet to produce one huge thin brownie.  I then cut them in half and spread oreo cream (a.k.a. lard--OK, that's gross, I agree) and then sandwiched them together. I spread milk chocolate ganache across the top and sprinkled with coarsely cut Oreos.  I absolutely love this brownie recipe and plan to use it when making other brownie-type sandwiches. I was thinking chocolate covered pretzel brownies with peanut butter cream in the middle. Mmmmm...


Anyway, make these..they are easy, fun, and delicious.


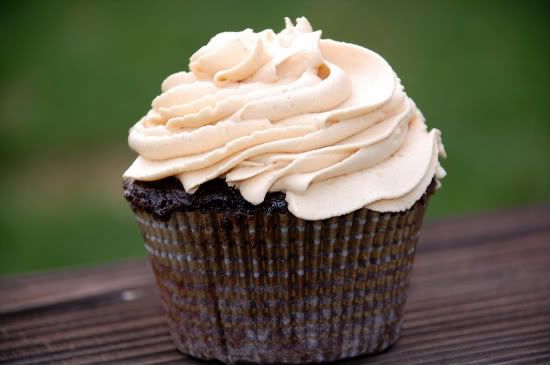
Chocolate Cupcakes w/ Peanut Butter Cream Cheese Frosting


I'll make this short and sweet.
Chocolate cuppies w/ peanut butter cream cheese frosting.
These were amazing.
Recipe found here, in cupcake form.

Tuesday, October 7, 2008

What's for dinner?


(from right to left): Marley, Max, and Milo anxiously awaiting dinner! 


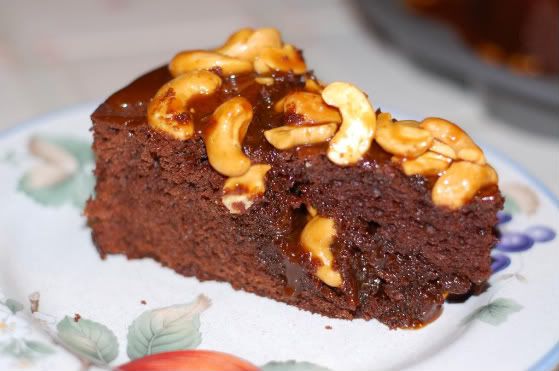
TWD:Caramel Topped Cashew Brownie Cake


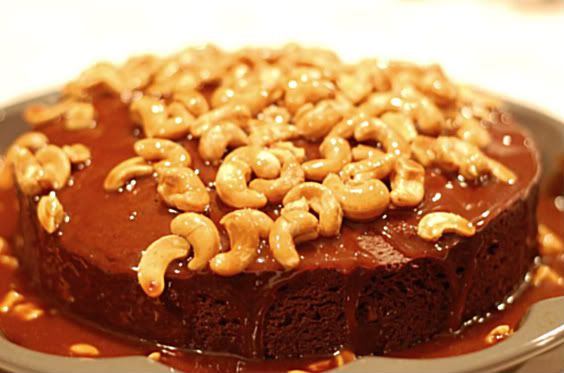
Tammy from Wee Treats by Tammy chose this week's recipe: Caramel Topped Peanut (Cashew-in my case) Brownie Cake.  I will be honest (don't yell at me), but I was not impressed by this cake at all. This is the first recipe of all the Dorie recipe's I've made that I just wasn't a fan of. The cake was pretty dull, tasteless, and dry while the caramel was impossible to work with.  I wanted to take this into work with me but it was too messy to do so.  The caramel tasted like, well, er, caramel; and paired with the salty cashews presented a great taste but the cake portion of this recipe was disappointing. Being the resourceful person I am, I scooped the caramel-drenched cashews off the cake and added them to a bowl of vanilla ice cream which was AMAZING! When it comes to desserts, I know how to make do... =)


If I were to make this again I would opt for cupcakes! Sorry Tammy! Next week's recipe are Almond Biscotti's! I've been dying to make biscotti's forever! Yay!

Monday, October 6, 2008

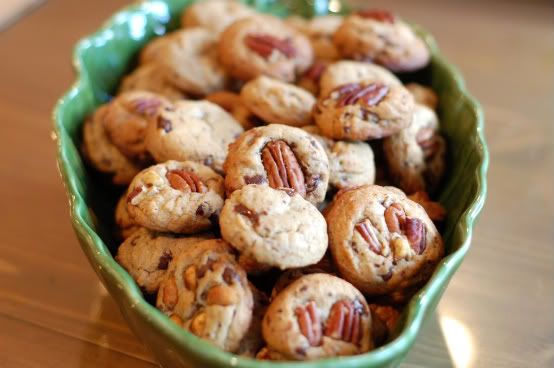
Pecan Chocolate Chip Cookies


I made Deb's chocolate pecan cookies from her amazing site, Bake or Break. I've been reading Deb's site for about a year now and she continues to impress me! Anyway, I was home, bored, and decided to make a cookie involving pecans and chocolate. What better than to make triple chocolate pecan cookies. By triple chocolate, I used dark, semi sweet, and bittersweet rather than white. I was sold.


These cookies were as good as a pecan chocolate cookie can get. I found that they were even better the day after they were baked. My cookies didn't spread like I wanted them to, mostly in part because I had to run out for a riding lesson (equestrian) halfway through and put the dough in the fridge for a couple hours. However, they were still tasty!