Monday, November 24, 2008

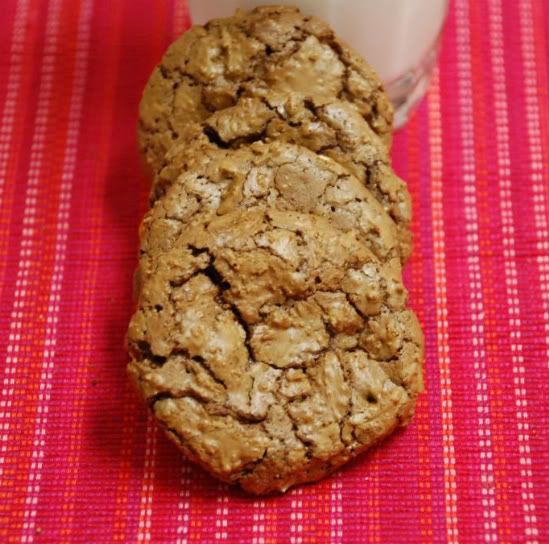
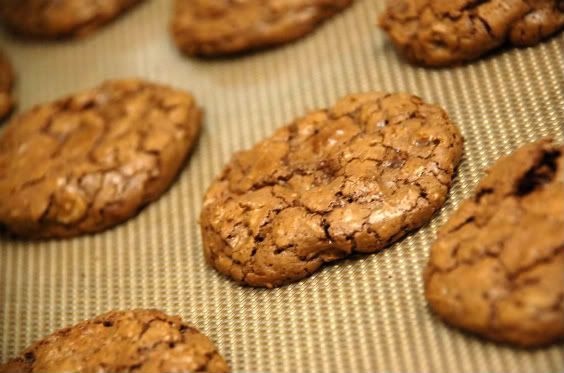
CHOCOLATE TOFFEE COOKIES

I saw these cookies on Smitten Kitchen and had to try them. Peanut butter is my most favorite, however, toffee is a very close second (peanut butter wins by a hair). I love any and all things involving toffee, brittle, bits of brickel, etc. I love the crunchy sweetness toffee adds to decadent desserts and in this case, the toffee addition to these super chocolately cookies were the perfect fit. These cookies remind me of Maida Heatter's mulattoes containing an outrageous amount of chocolate with very little flour; producing a chocolately cookie mound that is so delicious your taste buds will need to go through a 10 step program in order to lay off these! The only change I made was substituting the walnuts for sliced almonds. Yum.
Chocolate Toffee Cookies
Adapted from Bon Appetit
1/2 cup all purpose flour
1 teaspoon baking powder
1/2 teaspoon salt
1 pound bittersweet (not unsweetened) or semisweet chocolate, chopped
1/4 cup (1/2 stick) unsalted butter
1 3/4 cups (packed) brown sugar
4 large eggs
1 tablespoon vanilla extract
5 1.4-ounce chocolate-covered English toffee bars (such as Heath), coarsely chopped
1 cup walnuts, toasted, chopped (I used sliced almonds)
Flaky sea salt for sprinkling (optional)

Combine flour, baking powder and salt in small bowl; whisk to blend. Stir chocolate and butter in top of double boiler set over simmering water until melted and smooth. Remove from over water. Cool mixture to lukewarm.
Using electric mixer, beat sugar and eggs in bowl until thick, about 5 minutes. Beat in chocolate mixture and vanilla.
Stir in flour mixture, then toffee and nuts. Chill batter until firm, about 45 minutes.
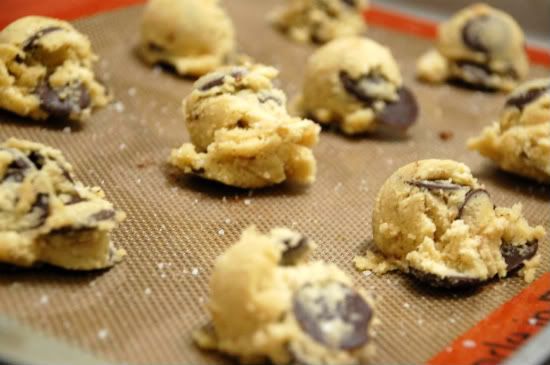
Preheat oven to 350°F. Line 2 large baking sheets with parchment or waxed paper. Drop batter by spoonfuls onto sheets, spacing two inches apart. Sprinkle with a pinch of flaky sea salt, if you’re using it. Bake just until tops are dry and cracked but cookies are still soft to touch, about 12 to 15 minutes. Cool on sheets. (Can be made 2 days ahead. Store airtight at room temperature.)

I know that it will be impossible to let them cool completely, but they really taste a lot better cool, as they continue baking once they come out of the oven.
Slice and bake option: After struggling a bit to scoop these cookies, I rolled the dough into a log 1.5 inches in diameter and chilled it. When I was ready to bake the cookies, I cut it into 1/2-inch slices. You can store the dough log in the freezer, wrapped in waxed paper and then two layers of plastic wrap for up to a month, just baking the cookies off as you need. Cookies baked straight from the freezer may need an additional minute or two in the oven, depending on their thickness.
Friday, November 14, 2008

PUMPKIN WHOOPIE PIES AND THEN SOME..


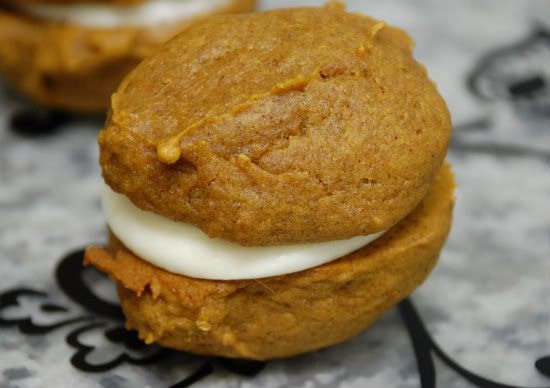
I referenced the book "Baked" a few posts ago and I wasn't kidding about testing out each and every recipe that this book has to offer.  Whoopie pies have been on my list of recipes to make and my new not-too-shabby book had, what seemed like, a fantastic pumpkin whoopie pie recipe that I just had  to try.  These were SO GOOD.  The pumpkin cookie part was soft and not overly sweet at all while still retaining a rich pumpkin taste. The cream cheese filling was sweet, silky, smooth and the epitome of all cream cheese frosting's.  These whoopie's have officially made their way onto this year's Thanksgiving dessert list.  Congrats to them.

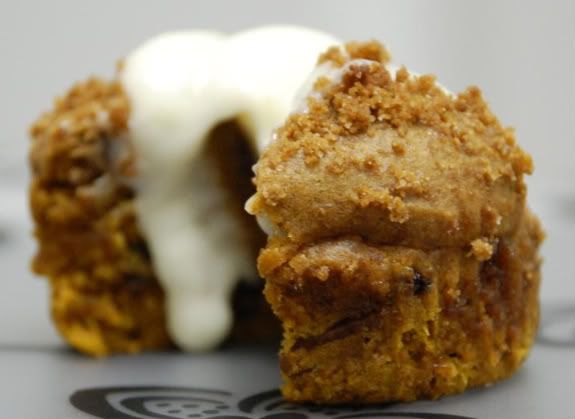
This recipe yielded 12 pies, however for whatever reason I had some left over batter and decided to experiment with it. 
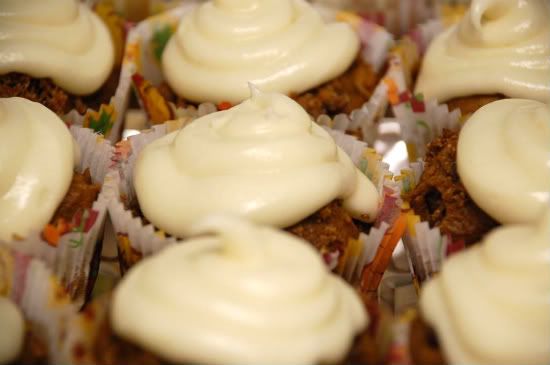
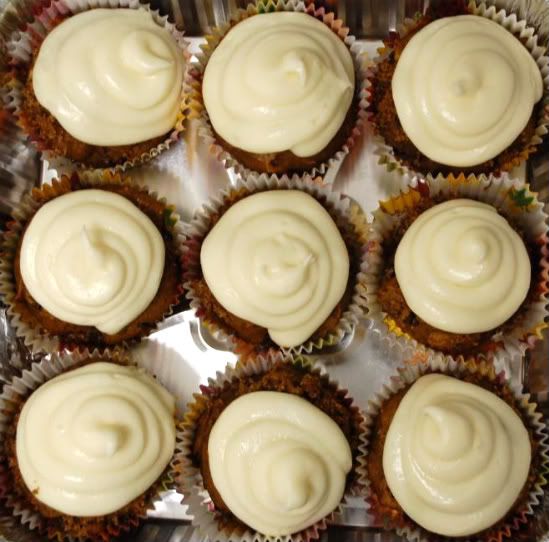
I added mini chocolate chips and chopped pecans to the batter and lined 1 regular sized cupcake pan with pretty fall themed liners; filling each with about 1/4 cup of whoopie pie batter. Before baking them, I sprinkled some leftover gingersnap crumbs that I used as the crust for a pumpkin cheesecake I made recently (I'm just realizing now that I never posted it!).
I cooled the cuppies for about 20 minutes a dolloped a swirl cream cheese frosting atop each. My dad taste-tested both the whoopie pies and the experimental cuppies and I think he enjoyed them both equally! I didn't time how long I baked the cupcakes for but I did check them frequently.  The chocolate chips, pecans, and gingersnap crumble really gave the batter some kick..they were so delicious!

Thursday, November 13, 2008

SESAME STREET CUPCAKES

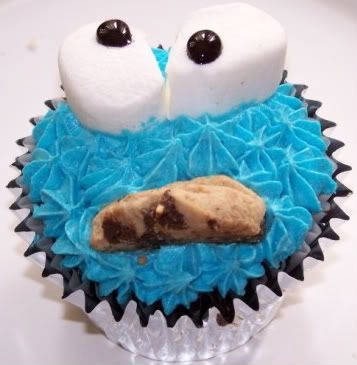
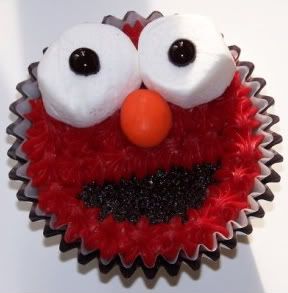
How cute are these? I don't mean to toot my own horn or anything but these cupcakes are a child's dream! We all celebrated my cousin Orin's 1st birthday last week and since he's just starting to wrap his cute little mind around the whole "Sesame St. phenomenon", I figured what better way to introduce some of the characters to him then by making sesame street cupcakes!  I plucked out, with what I think are the most recognizable two Sesame Street characters, Cookie monster and Elmo.  I took variations of ideas I found on the Internet combined with my own and came up with these cupcakes.

I used both chocolate and vanilla cakes as well as 2 batches of this buttercream frosting  tinted 1 batch blue and the other Christmas red.  Before I began decorating, I had an abundance of all my supplies out and ready to be used. 

For Cookie Monster: I cut several Famous Amos chocolate chip cookies in half for his mouth as well as cutting large marshmallows in half using kitchen shears for his eyes.  I had my Wilton black icing gel and blue buttercream ready to go. To assemble: I used the star tip (#16 or #18) to pipe a blue 'furry'-like texture around the entire top of the cupcake. Next, I placed the 2 halves of marshmallows for the eyes together by snipping a little smidgen at the corners where the marshmallows joined so that they would stick together.  Lastly, I put drops of Wilton black icing gel atop the marshmallows in a "googly" kind of way.  This black icing gel is fantastic! It really holds its shape and it comes out glossy giving you a realistic looking eyeball.  They come in mini tubes, however these little tubes can take you a long way.  I only used one tube for both Elmo and Cookie Monster with some left over!

For Elmo: I used all chocolate cuppies for the Elmo's mainly in part because I was saving myself an extra step with making Elmo's black mouth as the chocolate cuppie was 'self-mouthed'!  Using the same star tip as Cookie Monster, I piped a 'furry'-like texture around the top of the cuppie leaving only enough room for a half moon shape (mouth). Another option would be to actually use the black icing gel for the mouth portion of the character, but I personally found that to be unnecessary added work. I used orange peanut M&M's for the nose and used the same method for the marshmallow eyes as I did for Cookie Monster, only not making the eyes so googly. You see, Elmo is clearly more sophisticated then Cookie Monster. I topped some of the cupcakes with these fantastic HAPPY BIRTHDAY candles that come as individual letters.  Orin loved the cupcakes as seen below...
Note* Unfortunately I forgot my really great Nikon SLR camera so the pictures didn't come out as great as I would have liked..forgive me ;) Also, the vanilla and chocolate cakes were DELICIOUS. Make them.
 

Monday, November 10, 2008

The Best Cookies Ever...This Time I'm Serious!

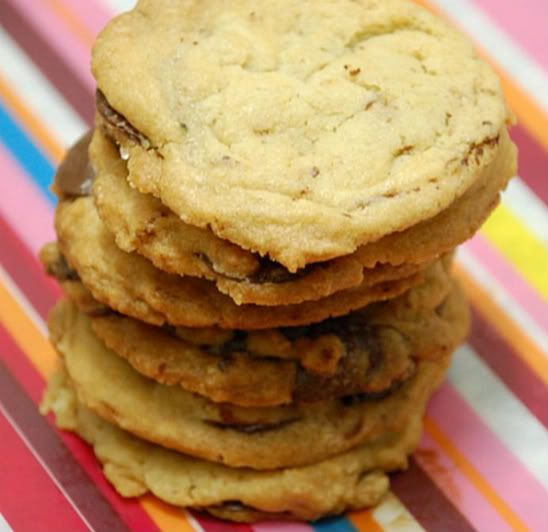
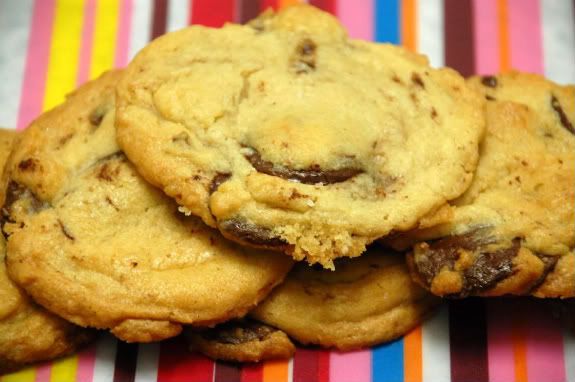
I read this great article in the NY Times a while back about the great debate of the consummate chocolate chip cookie.  The article featured several different professionals/authors/bakers/bakery owners including Dorie Greenspan, Hervet Poussot, and Maury Rubin all releasing their secrets to their perfect cookie. All of their recipes are adaptations from Jacques Torres' classic cookie. In conclusion of the article, they come up with the greatest chocolate chip cookie known to man. How do I know this, you ask? Because I made them this weekend and they will blow your mind. These are by far the best chocolate chip cookies I've ever had.  

They have a crunchy perimeter with a silky soft chewy center bound by endless amounts of chocolate wafers. I followed this recipe to a T and kept the dough refrigerated for the maximum 72 hours. This recipe requires the use of extra large chocolate chips, discs, or wafers. I used these Guittard semi-sweet wafers from King Arthur Flour and they came out brilliantly. Also, I used semi-sweet rather than bittersweet. On another note, the recipe calls for 6-3 1/2 ounce mounds of dough per batch/baking sheet. I found this to be outrageously large and for all the work I put into these (including the 3 day refrigeration period) I decided to use my handy cookie scooper which measured out to be about 1.75 ounce balls of dough---creating way more cookies than what the recipe called for.  My co-workers have been talking about these non stop since the moment I came in this morning. I will officially be using this recipe for eternity. No doubt about it, no questions asked.

CHOCOLATE CHIP COOKIES, Adapted from Jacques Torres

Time:45 minutes (for 1 6-cookie batch), plus at least 24 hours’ chilling

2 cups minus 2 tablespoons

(8 1/2 ounces) cake flour

1 2/3 cups (8 1/2 ounces) bread flour

1 1/4 teaspoons baking soda

1 1/2 teaspoons baking powder

1 1/2 teaspoons coarse salt

2 1/2 sticks (1 1/4 cups) unsalted butter

1 1/4 cups (10 ounces) light brown sugar

1 cup plus 2 tablespoons (8 ounces) granulated sugar

2 large eggs

2 teaspoons natural vanilla extract

1 1/4 pounds bittersweet chocolate disks or fèves, at least 60 percent cacao content (see note)

Sea salt.

1. Sift flours, baking soda, baking powder and salt into a bowl. Set aside.

2. Using a mixer fitted with paddle attachment, cream butter and sugars together until very light, about 5 minutes. Add eggs, one at a time, mixing well after each addition. Stir in the vanilla. Reduce speed to low, add dry ingredients and mix until just combined, 5 to 10 seconds. Drop chocolate pieces in and incorporate them without breaking them. Press plastic wrap against dough and refrigerate for 24 to 36 hours. Dough may be used in batches, and can be refrigerated for up to 72 hours.

3. When ready to bake, preheat oven to 350 degrees. Line a baking sheet with parchment paper or a nonstick baking mat. Set aside.

4. Scoop 6 3 1/2-ounce mounds of dough (the size of generous golf balls) onto baking sheet, making sure to turn horizontally any chocolate pieces that are poking up; it will make for a more attractive cookie. Sprinkle lightly with sea salt and bake until golden brown but still soft, 18 to 20 minutes. Transfer sheet to a wire rack for 10 minutes, then slip cookies onto another rack to cool a bit more. Repeat with remaining dough, or reserve dough, refrigerated, for baking remaining batches the next day. Eat warm, with a big napkin.

Yield: 1 1/2 dozen 5-inch cookies.

Note: Disks are sold at Jacques Torres Chocolate; Valrhona fèves, oval-shaped chocolate pieces, are at Whole Foods.

Lemon-Lime Bars

I got this new book and let me tell you, folks...it is AWESOME! I would encourage each and every one of you to go out and buy it because it is well worth your bucks!  Now, this book I speak of is called Baked and it is a compilation of recipes sold in their incredible Brooklyn bakery called, well, Baked. I've read this book cover to cover and back again and tagged so many recipes that I honestly didn't know where to start. 
 
First up were these lemon-lime bars.  I'm such a lemon/lime-aholic so I figured this would be a great place to start, considering I will literally be baking everything this book has to offer. The recipes range from butterscotch pudding mini tarts (can't wait to make these!!) to rainbow cookies (definitely making these!!) to the most gorgeous German chocolate and Malt Ball cakes (obviously making these too!!).  Anyway, one at a time here people!!! 
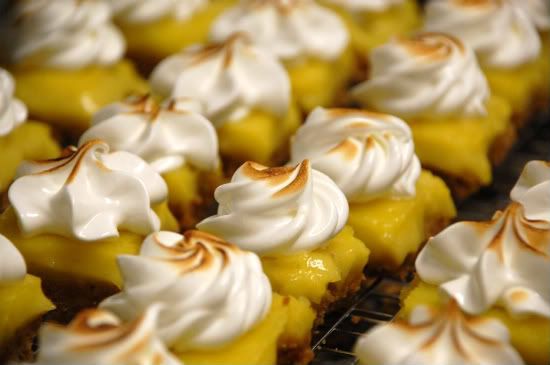
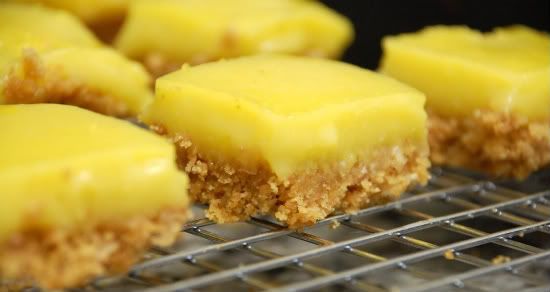
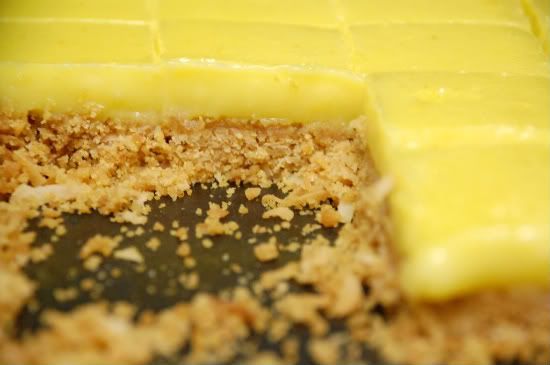
These lemon-lime bars were as luscious and delicious as they look/sound.  I absolutely love the taste of a cool tarty creamy treat with a crunchy crust and this recipe does wonders for that combination. The crust is a combination of graham cracker crumbs and toasted coconut while the filling is made up of lemon and lime zest, fresh lemon and lime juices, egg yolks, sugar, and vanilla.  This is a fairly easy recipe to whip up, however the chilling requires some time. You do not want to take these out of the fridge too early because they will be gooey and messy. You want your filling to be firm but slightly giggly. Once the bars were cooled and set, I decided to go the extra mile and pipe some meringue stars and swirls on top.  This idea was fueled by my overwhelming desire to bust out my mini kitchen blow torch which I enjoy using so much! As a finished product, these bars were so fantastic! They were creamy and crunchy in one bite and I got excellent feedback on them. I will post the recipe as soon as I can!

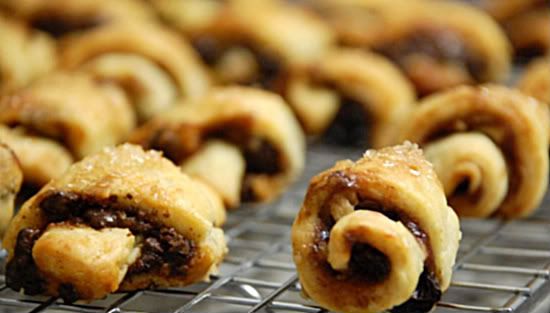
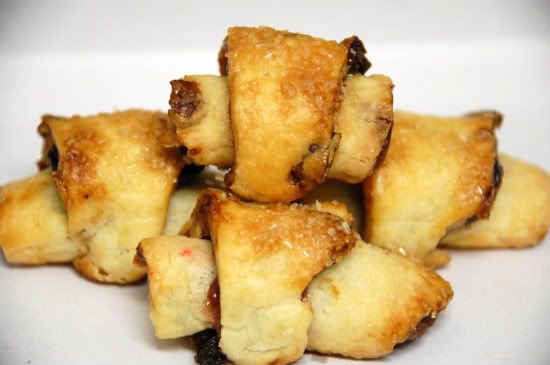
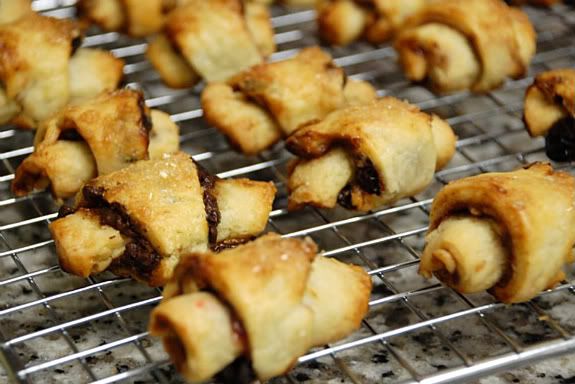
TWD:Belated Rugelach

Last week, Piggy from Piggy's Cooking Journal chose Rugelach and I'm so thankful that she did. See, I've been wanting to make rugelach for as long as I could remember and Dorie's recipe was a perfect place for me to start.  These were fantastic. The cream cheese dough baked so beautifully and the filling was delicious. The dough had a perfect flaky to butter ratio. The dough was super easy to make--took a total of about 10 minutes tops, including ingredient prep.  Once the dough formed large curds, I cut it in half and formed two discs, wrapped in plastic wrap, and chilled in the fridge for about 2 hours. 

In the meantime, I made a batch of cookies and lemon/lime bars which will be featured next!  After the dough was chilled, I rolled out each disc into a 12inch circle and filled them differently.  For the 1st disc, I used raspberry jam and sprinkled pecans and raisins on top. The second disc consisted of apricot preserves and lots and lots of chopped bittersweet chocolate (about 3.5 oz).  I cut each disc into 16 triangles and rolled them creating a snail type figure, a.k.a. rugelach shape. Each rugelach was brushed with egg and a sprinkling of turbinado raw sugar. These cookies came out perfectly! I was so pleased with how easy this recipe was! The dough was very pliable and easy to roll out/roll up.  I read that a lot of TWD'ers had trouble with the dough, saying that it fell apart and ripped easily. To the contrary, my dough had a perfect consistency for rolling.  

I will most definitely be making loads of these for Thanksgiving using a variety of fillings, i.e. pecans, almonds, chocolate, raisins, heath bar bits, etc.  Check out Piggy's blog for the recipe.

Friday, November 7, 2008

Banana Pudding Birthday Cupcakes

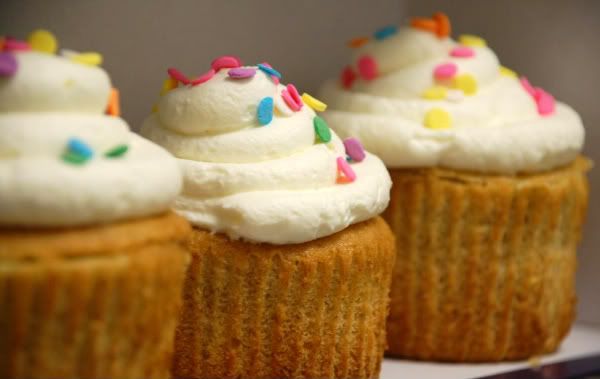
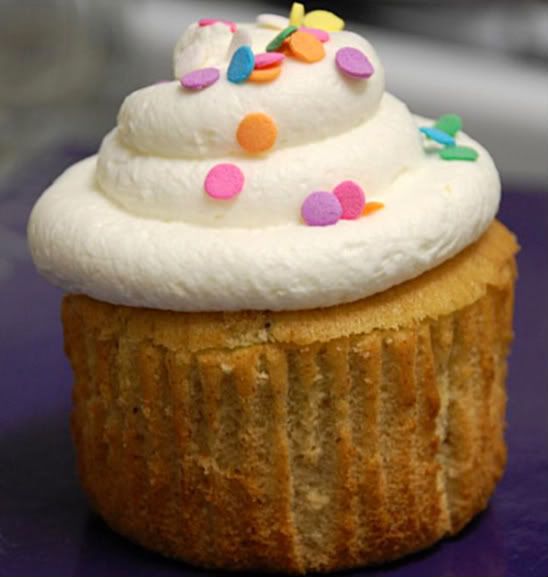
Another birthday...another round of cupcakes. My very good friend turned the big 2-5 yesterday and I, of course, volunteered my birthday baking services.  I originally had a cake in mind, but upon further review, I decided to go with banana pudding cupcakes.  A while ago I made banana pudding and I recall the birthday boy absolutely loving it so I went ahead and created a banana pudding cupcake which would welcome candles and sprinkles with open arms, so to speak.

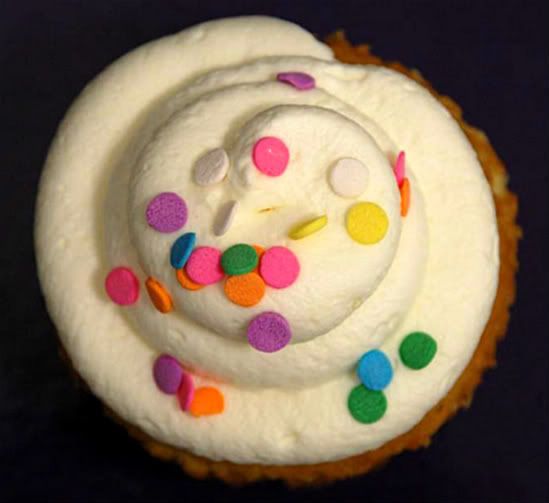
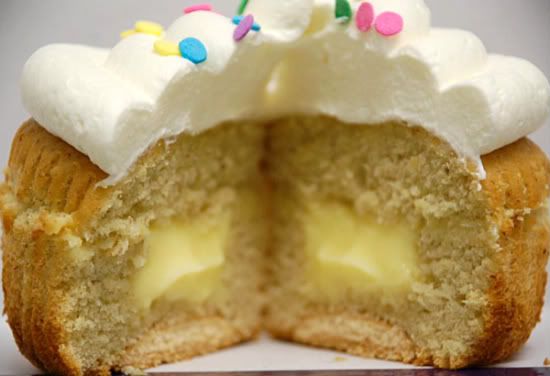
I used this banana cupcake from allrecipes (less the apples) and then made the banana pudding I made a few months ago found here, as the filling.  Clearly I was in an allrecipes kind of mood and used this whipped cream recipe for the topping (it was amazing!). For an extra banana pudding touch, I placed a vanilla wafer at the bottom of each cupcake liner before filling.
I finished the cupcakes off with pastel confetti sprinkles and  candles.  Rather than using a decorating tip to "inject" the pudding into the center of the cuppies, I carefully sliced off the tops, scooped out the middles, and filled them with pudding.  I made sure to spread extra pudding on top of the sliced cupcake to create "adhesive" so that the tops wouldn't shift or slide off.  These cupcake were super dense because a) banana cake is always dense, and b) they were each filled with heavy filling! However, this were really delicious! The birthday boy + friends loved them. Enjoy!

Monday, November 3, 2008

Halloween Candy Bars


I love mish-moshes especially when it involves chocolate and candy. If you put a mish-mosh of several different kinds of fish and poultry topped with 100 kinds of condiments on a plate I would most certainly not be interested and would most likely vomit. However, the chocolate and candy department is a wholeeeeeeeee different story.  A pile of 50 different kinds of candy, fudge sauces, caramel, etc etc would totally be appetizing to me! Ha. 

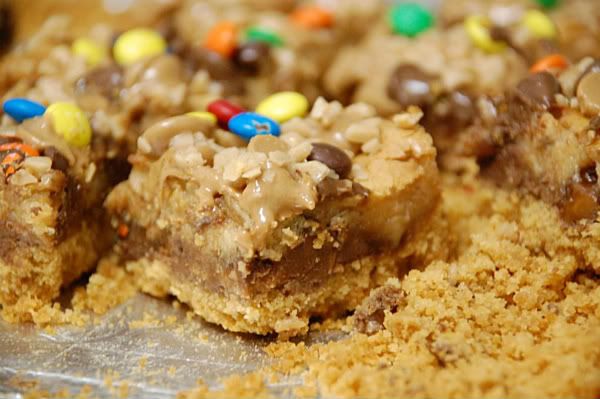
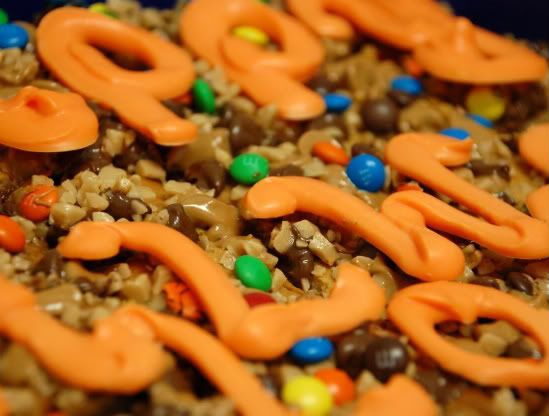
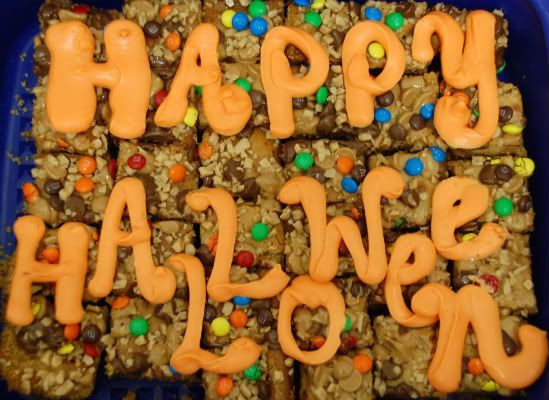
Anyway, these bars are a conglomeration of random leftover candy bars with some extra fix-ins thrown in atop a bed of a finely crushed Vienna Finger crust.  Of course you can be totally creative here and throw in any kinds of candy and chocolate that appeases you as well as any kind of cookie crust; think nutter butters, girl scout cookies, oreos, et al. Nuts would be a good addition as well. What makes these bars fun is that you can throw in any kind of mish-mosh and they will still be delicious. These were a HUGE hit at work as people were gushing over them. I wrote "Happy Halloween" using orange candy melts, just for fun.  This recipe is so simple that you almost can't turn it down =)


  • INGREDIENTS
  • 1 16-ounce package Vienna Fingers, crushed (16 oz package)
  • 1/2 cup butter, melted (1/2 cup)
  • 14 ounces sweetened condensed milk (14 oz can)
  • 1/2 cup creamy peanut butter (1/2 cup)
  • 1 tablespoon vanilla extract (1tbsp)
  • 7 & 1/2 ounces peanut butter cups (about 25 miniature cups), coarsely chopped (7 1/2 oz)
  • 4 ounces Butterfinger candy bars (about 7 small candy bars), coarsely chopped (4 oz)
  • 4 0unces Heath candy bars, coarsely chopped (4 oz)
  • 1 cup semisweet chocolate chips (1 cup)
  • 1/2 cup peanut butter chips (1/2 cup)

Preheat oven to 350°. Line a 13″x 9″pan with aluminum foil, allowing it to extend over edges of pan. Grease/spray foil. Combine crushed cookies and butter. Press mixture into bottom of prepared pan. Bake for 6-8 minutes. Combine condensed milk, peanut butter, and vanilla, stirring until smooth. Set aside. Sprinkle chopped candy bars, chocolate morsels, and peanut butter chips over crust. Spread condensed milk mixture over toppings. Bake for 25-27 minutes or until lightly browned. Cool in pan on wire rack. After about 10 minutes of cooling, you can sprinkle more fix ins on top. Everything I used for the filling (ButterFinger, PB chips, Chocolate Chips, and Heath Bar) I sprinkled on top with an additional 1/2 cup of mini M&M's to add some color. Using foil, lift out of pan. Peel foil away, and cut into bars.

Makes 28 small or 18 large bars.