Showing posts with label Cookies. Show all posts

Monday, May 3, 2010

ALL-IN-ONE COOKIE BITES

Photobucket
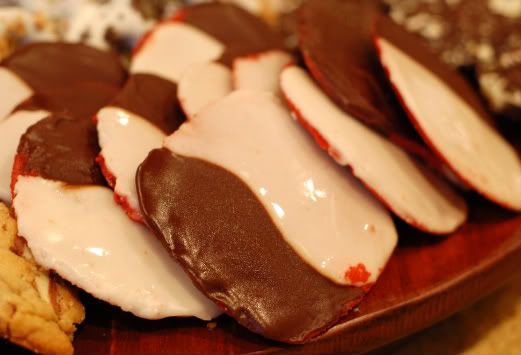
Hi y'all. Let me ask you something. Have you ever showed up to a bakery craving cookies but didn't know which kind to get? There are endless appetite pleasing opportunities in the world of cookies. We've got sugar, chocolate chip, oatmeal raisin, peanut butter, ginger snaps, black & whites, chocolate chocolate chip, cowboy, kitchen sink, plus hundreds of others.
Photobucket
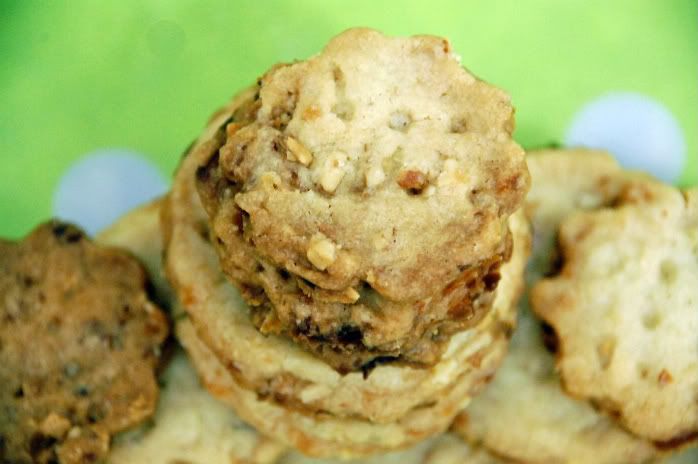
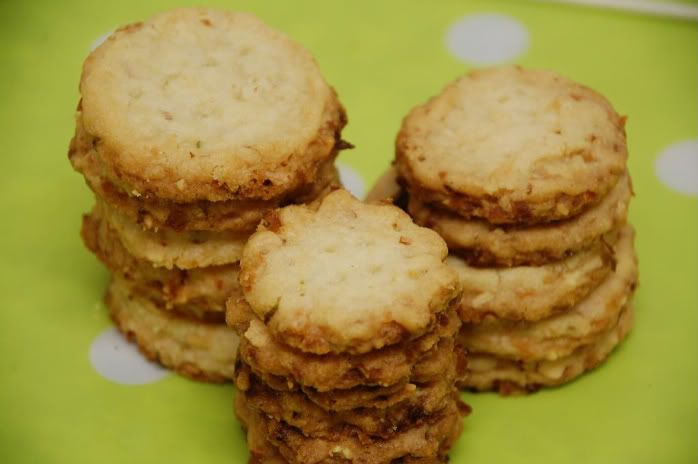
These all-in-one cookie bites feature my four favorite kinds of cookies united as one. From the bottom layer up we have sugar, chocolate chocolate chip, peanut butter, and lastly chocolate chip. The top chocolate chip layer bakes crunchy while the inside is soft creating the most divine flavor and texture combination.
Photobucket
These cookie bites have officially solved my "over-buying because I don't know which flavor to get" syndrome at the local bake shoppe. Woot. Woot.

On another note, I'm getting some angry emails/comments from my lovely readers about my lack of recipe postings. Readers, you must understand that my blog has changed over the last year because I opened my own bakery business. Therefore, I can no longer post my sacred recipes to the world because, well, that would be silly. I will, however, post recipes I use that are not mine; however few those may be. So, please understand that I'm not displeasing you on purpose! I will continue to post drool-worthy pictures as well as my commentary so feel free to come along for the ride :)

Thursday, April 22, 2010

DOUBLE DARK MOCHA DROP COOKIES

Photobucket
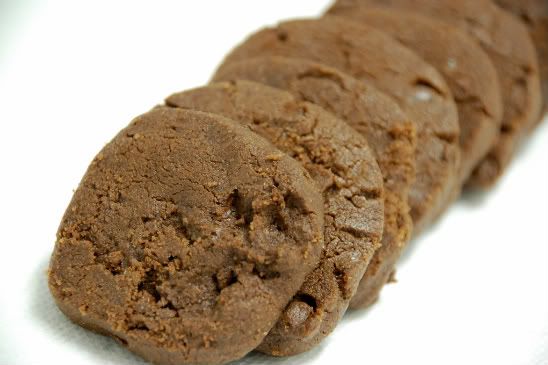
I received my monthly King Arthur Flour catalogue yesterday; and while flipping through the pages of countless fun baking gadgets, I stumbled upon this recipe for double dark mocha drop cookies.  Sounded delicious enough and off to the kitchen I went! I've been baking cupcakes the last couple days and felt a truly good cookie recipe was long overdue.
Photobucket
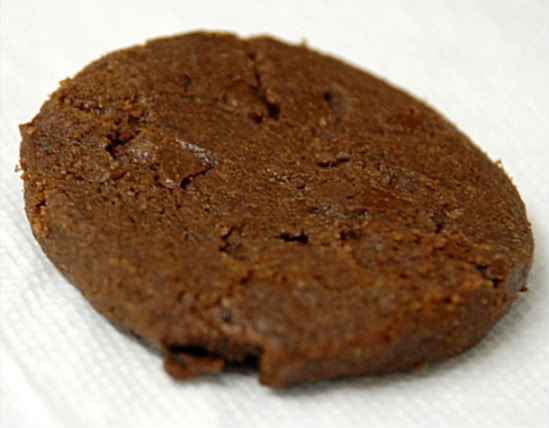
According to the picture of these cookies in the catalogue, they spread when baked. However, my cookies, as you can see, did not. They maintained pretty much the exact shape as they were before baked.  I traced back my steps and didn't make any mistakes so perhaps my oven wasn't calibrated properly. However, when I bit into these chocolate round blobs, they tasted delicious.  This cookie has a real brownie like texture and the center is dense and fudgy from all the semi sweet and white chocolate chips.  These are a winner and I'll most definitely make them again--flattened or not ;)

Click here for recipe.

Friday, December 25, 2009

RAINBOW COOKIES!!!!!

Oh..my...god!! I did it! I did it! Rainbow cookies are something I always wanted to challenge myself with and I finally gathered up the courage to do so...and it took 48 hours! Woo hoo!

Rainbow cookies have been my absolute favorite for as long as I could remember. Seven layer cookies, as they are also called, contain rich almond cake layers sandwiched with apricot or raspberry jam and topped off with a hard chocolate shell. New York is known for these cookies and they are hard to find elsewhere in the country. As most of you know, I have relocated down south to Memphis, TN for the time being and for the life of me, I can't find any rainbow cookies. My problem was solved when I decided to make them from scratch.
I had heard that the act of making rainbow cookies isn't so much difficult as it is time consuming--and I heard correctly. You need a solid 2 days to make these cookies between the chilling, the sandwiching, etc and let me tell you, it is worth every second. The cake layers are super easy to make, requiring almond paste, amongst other basic cake ingredients. The batter is separated into three separate bowls, each being colored red, green, and one left plain white.
In my case, apricot jam is heated and strained and then spread between each layer. A baking pan is used to weight the layers overnight and then the chocolate layer is spread on the top and the bottom to finish off the cookies. After reading many reviews, I froze the completed, unsliced cookies for several hours before slicing them with a chef's knife dipped in hot water. This method worked perfectly and none of the chocolate cracked on top. I cut them into thin slivers which produced several dozen. You can choose to cut them into 1 inch squares as well, however, traditionally these cookies are served in thin rectangles.

I encourage you all to try your hand at this recipe at least once in your lifetime! It's not as difficult as it seems and if you have the time to spare, go for it! Next time I think I will go with raspberry and apricot jam in between the layers.

Check out smitten kitchen's recipe for these cookies found here.

Tuesday, December 1, 2009

CHOCOLATE CHIP COOKIE CAKE

How cute is this? Chocolate chip cookie cake. Turkey decoration. Need I say more? Well, actually..one more thing: it was "gobbled" up in seconds. True story.

Use your most favorite chocolate chip cookie recipe and double it to make a thick 9 inch round cake and if you're reallyyyyyy lucky, you may have some dough left over to sneak in a few cookies. Enjoy!

SUGAR COOKIES

Welcome back from the seemingly endless holiday of stuffing face! Good news folks, this is only the beginning. Bring on the December holidays as Thanksgiving was merely a warm-up round.
Anyway, on to these cookies. As you can see from my earlier post on the University of Tennessee sugar cookies, I've been on quite a sugar cookie roll. They are super easy to make, fun to decorate, and even more delicious to eat. My boyfriend's company had a big Thanksgiving party so I sent him in with this absolute random selection of cookies; schnauzers, mittens, leaves, and bones. Yep, you know, the usual. I'm not sure what I was thinking when I pulled these 4 cutters from my bag of 1000 but there's nothing wrong with some arbitrary selection from time to time! I wrapped each cookie in a plastic bag with some cute ribbon and got incredible feedback. All 150 cookies were gone within an hour! I also sent him in with about 75 pumpkin spice cake pops but really...haven't y'all had enough of the cake pop posts? I've opted to leave those pictures out and save you from cake pop bombardment. :)

Friday, November 13, 2009

GO VOLS!!

I'm off to the Tennessee vs. Ole Miss football game tomorrow in Oxford, Mississippi! My boyfriend was a player on the U of Tennessee football team several years ago so naturally, he is a die-hard fan! Mississippi is only about an hour from Memphis and we are leaving super early to tailgate. There's nothing like smash mouth SEC football. This rivalry should be great.
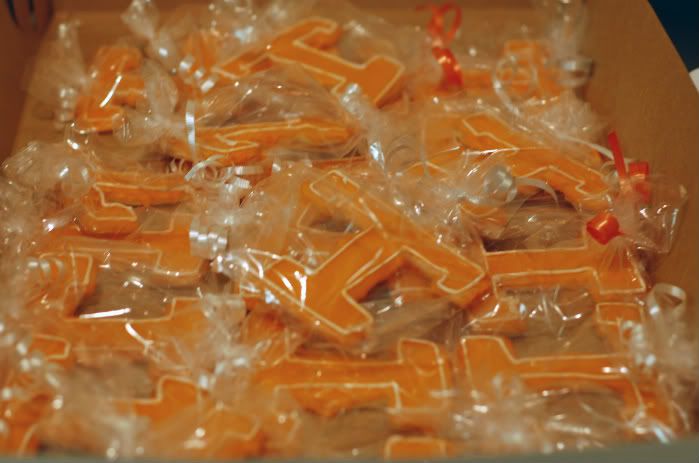
Since the tailgate is consisting of over 100 people, I thought it would be a nice touch to bring Tennessee Volunteer decorated cookies including a football, helmet, and "T" logo. I made about 6 dozens of these today using a basic sugar cookie recipe. All of the cookies were dipped in icing and decorated with royal icing. These were super fun to make and tasted so delicious. I individually wrapped each cookie and topped the baggies off with orange and white ribbon. I hope everyone enjoys them tomorrow at the tailgate! GO VOLS!!

Tuesday, November 10, 2009

TWD: SUGAR-TOPPED MOLASSES SPICE COOKIES

The month of November was a great time for me to rejoin my beloved Tuesdays With Dorie baking group; and because November is such a crazy time with the holidays, the members can bake any of the 4 recipes selected for November and post on whichever Tuesday they please. With that in mind, I decided to start off with these cookies. I've been inundated with cakes, cupcakes, and pies the last month or so that I really missed the operation that is cookie baking!
Pamela of Cookies with Boys chose these cookies for November 17th, so be sure to keep your eyes peeled for the recipe that will be posted on her blog. These cookies were tremendous and by tremendous I mean tremendously delectable. They had a sugary crunchy top with a semi-soft center and a spiced molasses flavor that was to die for! All the cookies baked perfectly uniform and were super easy to make. I doled out half of the batch for noshing and the other half to be ground up as a crust for my pumpkin cheesecake that I will be making later this week. Thanks for a great selection, Pamela!

Tuesday, June 30, 2009

MILLIE'S MANDEL BREAD

I, once again, made a batch (or 20) of my great grandmother's mandel bread that could seriously feed a family of 40.  The guys who work in my car garage, my boyfriends parents, my parents, my dry cleaner, veterinarians office, and my doctors are a few of the recipients who benefited; and I still have some to spare.

Half of the 1 zillion mandel had chopped Scharfenberger dark chocolate and the other 1 zillion had dried cranberries, dried pineapple chunks, raisins, and almonds.

Sweet.


Tuesday, June 23, 2009

COCONUT CREAM CHEESE COOKIES

Oh man, these were good. Cream cheese is such a fantastic catalyst for flavor in cookies. You can pair cream cheese with just about anything! It's creamy, delicious, and beyond amazing when paired with coconut. I added pecans to half the batch for an extra crunch. Verdict? Score 1 for me.

*spoiler alert* these cookies require 2 days to make

Coconut Cream Cheese Cookies 
(recipe from Cooks Illustrated) 

2 cups plus 3 Tbsp all-purpose flour 
1/2 tsp baking soda 
1/2 tsp salt 
12 Tbsp (1 1/2 sticks) unsalted butter, melted & cooled until room temp 
5-6 oz. cream cheese softened (I used 8 oz) 
1 cup brown sugar, packed 
1/2 cup granulated sugar 
2 tsp vanilla extract 
2 cups coconut toasted (I used 2 & 1/2 cups) 

Adjust oven racks to upper & lower -middle positions & heat oven to 325. Line a large rimmed baking sheet with parchment paper. Spread coconut evenly on baking sheet.  Once oven is preheated place coconut in oven. Bake for 10-20 minutes stirring every 5minutes for even toasting. Remove from oven when light brown. Do NOT burn. Remove from oven. Allow to cool completely before adding to dough. Re-line cookie sheets with parchment paper. 
Whisk dry ingredients together; set aside. With electric mixer, or by hand mix butter and cream cheese together with a mixer until smooth. Add sugars and beat until thoroughly combined. Beat in vanilla until combined.  Add dry ingredients & beat at low speed just until combined. Stir in cooled coconut. Chill dough overnight. When ready to bake cookies preheat oven to 350 degrees. Drop dough onto parchment lined baking sheets and bake for 12-14 minutes or until edges are set and bottoms are light brown. Do NOT over bake! Cool cookies on sheets until able to lift without breaking and place on wire rack to cool. 

Monday, May 18, 2009

GINGERSNAP SANDWICH COOKIES WITH CINNAMON CREAM CHEESE FILLING

I made these cookies today in class as part of an assignment!! The cookies themselves were crisp with a fine caramelized taste on top.  The spices were rationed out perfectly to create a spicy, sweet, gingery flavor.  Everyone in the class brought home their final product and I decided to make sandwiches out of them. I used this basic cream cheese frosting and mixed in cinnamon to create a cinnamon cream cheese filling. Using a plastic pastry bag with a small cut hole, I piped some filling in the middle of one half of the cookies and created very delicious sandwiches by gently pressing the unfrosted cookies on top. Mmm Mmm good.

Unfortunately I can't post the recipes for what we make at culinary school so I hope you enjoy the pictures!


Tuesday, March 31, 2009

TWD: COCONUT BUTTER THINS


Many thanks to Jayne of The Barefoot Kitchen Witch for choosing this weeks recipe. These cookies tasted just like a butter cookie with lime, coconut, and almond flavoring! I loved the combination of these flavors although the original recipe calls for lime, coconut, and macadamia nuts which I'd love to try as well. I substituted the vanilla extract for almond and sliced these cookies both circular and rectangularly using round 1 1/2 inch cookie cutters. Some of my cookies were significantly thinner than others thus baking more crisply which I preferred. They are super crunchy and buttery with a zing! I will most definitely be making these again, perhaps with the original instructed ingredients!
Check out Jayne's blog for the recipe. It won't disappoint...

Monday, February 23, 2009

BIRTHDAY COOKIE CAKE


In addition to the cupcakes below I made a birthday cookie cake for the boys. I used this very basic cookie dough recipe, flattened it on a round pizza pan, baked it, cooled it, and lastly, decorated it. This was SO GOOD. The cookie was super soft and chewy with chunks of milk chocolate chips. This was probably the biggest hit of the night and it was so easy to make. I used canned chocolate and vanilla frosting (the nerve!) for the border piping and decorations. I'm trying to work on my handwriting so I used a plain round tip for the happy birthday slogan. How'd I do?

If you need something quick, fun to make, and very tasty then go with this cookie cake. You can change it up and add peanut butter, nuts, raisins, oats, etc. I will definitely be making this again in the near future!

Tuesday, February 3, 2009

TWD:WORLD PEACE COOKIES


Lets just say that I've had the desire to make these cookies for over a year now. You can imagine my excitement when Jessica of Cook Book Habit chose them as this weeks TWD selection. Can we say yum.These cookies were soooooo awesome. Crunchy, chocolaty, and crispy with an overwhelming, yet delicious, taste of chocolate bound by mini chocolate chips. These cookies were a cinch to whip up and baked beautifully. I have the entire bag in my freezer for frequent snack breaks! The next time I make these-and yes, there will be a next time-I'm going to substitute the mini chocolate chips for toffee bits. Mmmm.

Check out Jessica's blog for the recipe!


Thursday, January 29, 2009

DARING BAKERS: TUILES

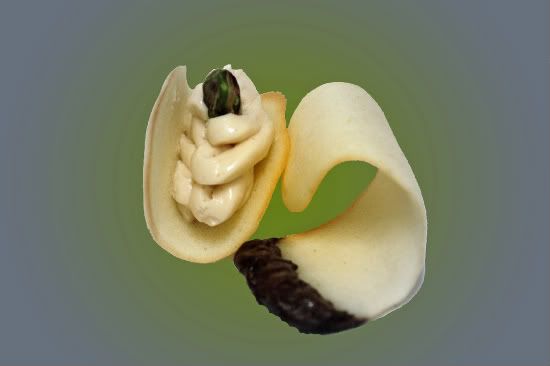
This month's daring baker's challenge was chosen by Karen of Bake My Day and Zorra of 1x umruehren bitte aka Kochtopf. They chose Tuiles from The Chocolate Book by Angélique Schmeink and Nougatine and Chocolate Tuiles from Michel Roux. This was by far the most fantastically creative recipe chosen to date. Tuiles are a thin and crisp cookie that become malleable post baking which allows for endless shapes, sizes, and colors. These cookies really gave us Daring Baker's a chance to expand our horizons! I shaped my tuiles into little squiggles (or waves) that I dipped in chocolate as well as mini cups which housed a generous dollop of brown sugar Swiss meringue buttercream and a pistachio. I was really amazed to see how much can be done with this recipe. Due to the fact that I was on a time constraint, I really wasn't able to shine in the "creativity" department. I will most definitely be making these again and experiment with different shapes. The actual cookie was light and refreshing. It had a fortune cookie kind of a taste; not too sweet but dainty enough to be an after dinner cookie. Check out what the other Daring Baker's did here!

I seemed to have lost all my pictures that I took of these cookies! I only recovered 1 picture and it's awful, so forgive me :) I did my best to fix it up. Yuck.

Recipe:

Yields: 20 small butterflies/6 large (butterflies are just an example)
Preparation time batter 10 minutes, waiting time 30 minutes, baking time: 5-10 minutes per batch

65 grams / ¼ cup / 2.3 ounces softened butter (not melted but soft)
60 grams / ½ cup / 2.1 ounces sifted confectioner’s sugar
1 sachet vanilla sugar (7 grams or substitute with a dash of vanilla extract)
2 large egg whites (slightly whisked with a fork)
65 grams / 1/2 cup / 2.3 ounces sifted all purpose flour
1 table spoon cocoa powder/or food coloring of choice
Butter/spray to grease baking sheet

Oven: 180C / 350F

Using a hand whisk or a stand mixer fitted with the paddle (low speed) and cream butter, sugar and vanilla to a paste. Keep stirring while you gradually add the egg whites. Continue to add the flour in small batches and stir to achieve a homogeneous and smooth batter/paste. Be careful to not over mix.

Cover the bowl with plastic wrap and chill in the fridge for at least 30 minutes to firm up. (This batter will keep in the fridge for up to a week, take it out 30 minutes before you plan to use it).

Line a baking sheet with parchment paper or grease with either butter/spray and chill in the fridge for at least 15 minutes. This will help spread the batter more easily if using a stencil/cardboard template such as the butterfly. Press the stencil on the baking sheet and use an off sided spatula to spread batter. Leave some room in between your shapes. Mix a small part of the batter with the cocoa and a few drops of warm water until evenly colored. Use this colored batter in a paper piping bag and proceed to pipe decorations on the wings and body of the butterfly.

Bake butterflies in a preheated oven (180C/350F) for about 5-10 minutes or until the edges turn golden brown. Immediately release from baking sheet and proceed to shape/bend the cookies in the desired shape. These cookies have to be shaped when still warm, you might want to bake a small amount at a time or maybe put them in the oven to warm them up again. (Haven’t tried that). Or: place a baking sheet toward the front of the warm oven, leaving the door half open. The warmth will keep the cookies malleable.

If you don’t want to do stencil shapes, you might want to transfer the batter into a piping bag fitted with a small plain tip. Pipe the desired shapes and bake. Shape immediately after baking using for instance a rolling pin, a broom handle, cups, cones….

Thursday, January 8, 2009

PARTY SWEETS

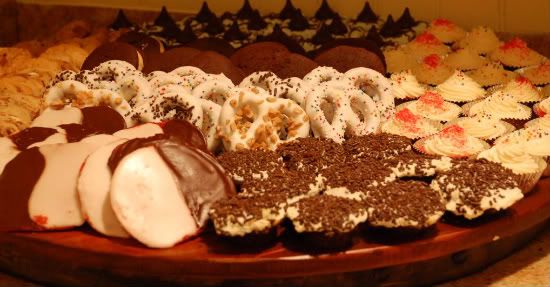
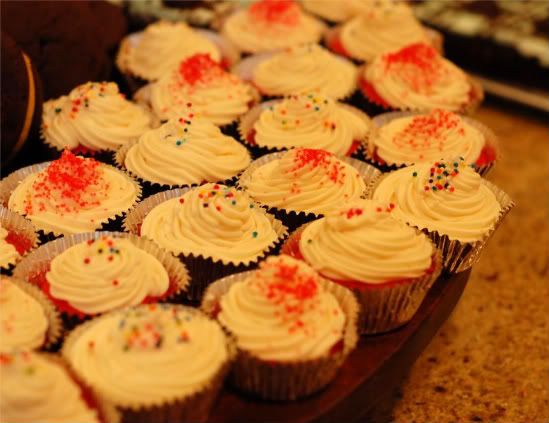
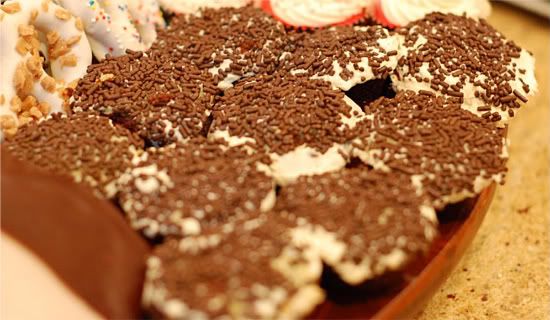
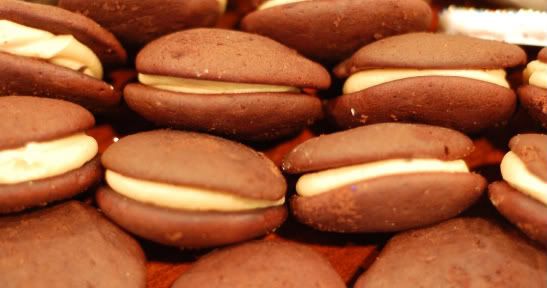
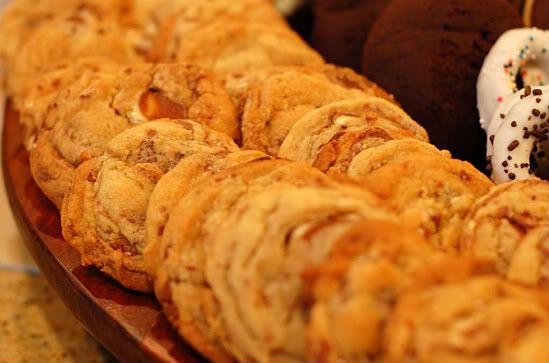
I had a New Year's eve party in Florida that consisted of fun finger food type of appetizers (i.e. turkey burger sliders and mini steak sandwiches on garlic bread) and crazy amounts of desserts. I displayed all the desserts on this gigantic lazy susan that I found and it truly looked breath-taking! The desserts ranged from cookies to brownies to cupcakes as well as some other fun treats like chocolate covered pretzels and whoopie pies. Rather than creating separate posts for each, just click on the title for their respective recipes. Enjoy!
(2) CHOCOLATE COVERED PRETZELS
There is no real recipe for these. It's super easy. I bought a mega bar/chunk of white almond bark and melted it according to the package directions. I went on to decorate them with English toffee, chocolate sprinkles, and nonpareils. You can always buy the melting chocolates and change up the colors.
These are too good to be true.
Peanut butter cream filling recipe found here.
I went to Walgreen's and bought these great milk chocolate bars on sale. They were literally chocolate bars (about triple the size of regular Hershey bars) filled with a thin milky-type cream. I very coarsely chopped them up and threw them into the dough. They were a-m-a-z-i-n-g.
Beyond delicious.
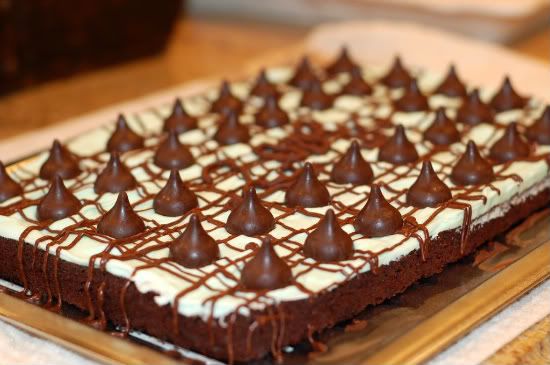
An easy chocolate drizzle topped by chocolate mint cream truffle Hershey kisses, these brownies hit the spot.

Tuesday, December 16, 2008

TWD:BUTTERY JAM COOKIES

Heather of Randomosity and The Girl chose this week's TWD recipe: Buttery Jam Cookies. I'm not sure what I was expecting from this cookie. Perhaps a cookie made with lots of butter, sandwiched between some kind of jam--more like a linzer...? So, when I read through the recipe and saw that the apricot jam was to be mixed throughout the dough, I was obviously on the wrong track with my similar-to-a-linzer theory. Unfortunately, I have to say that this is the first Dorie recipe that I'm utterly disappointed in. Dorie, don't be mad. I have loved every single one of your recipes since I've started this fun group and this one just didn't make the cut. I guess that was bound to happen, right? I forgive you.
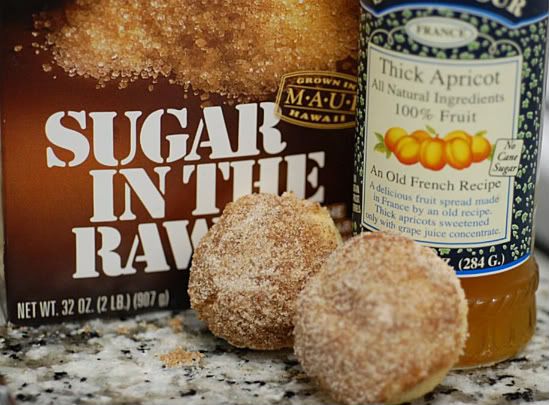
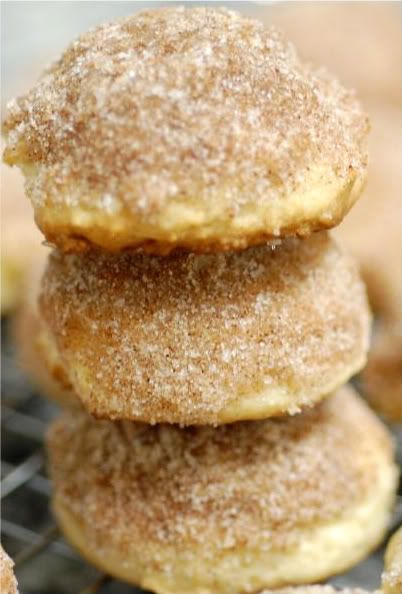
While this cookie combines the flavors of ginger and apricot jam, the taste was very bland and blah. I did everything in my power to salvage these cookies so I dipped them in melted butter and rolled them around a cinnamon and sugar mixture. End result: these were OK. On the upside, the cookies were a cinch to make and I'm sure would satisfy the "not-so-sweet tooth" kind of person. Check out Heather's blog for the recipe.

Monday, December 15, 2008

SUGAR COOKIE FROSTING CUPS

Have you ever licked frosting off a spoon...? Your finger?...A bowl...? All of the above? Or, my fellow frosting enthusiasts, have you ever just stuck your bare hand into a bowl of frosting and licked it sans utensils? C'mon now...don't lie...I know you have. No, really..there's no need to hide your secrets here. Well, this post is dedicated to all those frosting lovers out there. Can I get a what-what? OK, kidding. Moving on.
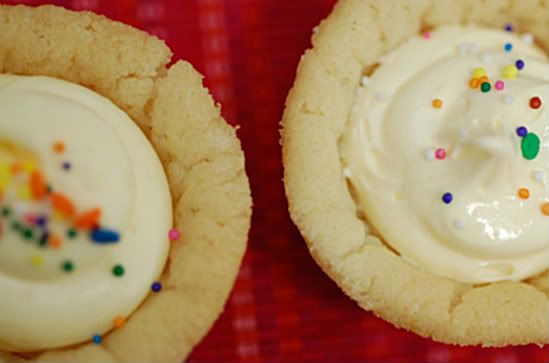
Sugar cookie dough, frosting, and sprinkles is all you need for this fun little creative treat. Last week my fun Tuesday's With Dorie group made Grandma's All Occasion Sugar Cookies and I enjoyed them so much that I decided to use this recipe for the base of my sugar cookie cups. I followed the exact recipe and then rolled them out according to the directions. After rolling them out, I used a 3.5 inch round cookie cutter and stuffed them into greased and floured mini muffin pans. Once cooled, I filled each cup with this frosting and topped them off with a colorful sprinkle medley. The frosting was absolutely delicious and easy to pipe. This is a fun way to eat frosted sugar cookies with an extra umpf of frosting. You can fill these with any type of frosting imaginable! I'm going to serve these for a get together tomorrow night where I think they will go very quickly!! They are soooooo good. Enjoy.
(This post is dedicated to my dear friend, Jana)
Grandma's All Occasion Sugar Cookies
From Dorie Greenspan's: "Baking, from My Home To Yours"

INGREDIENTS
2 cups all-purpose flour
1/2 teaspoon salt
1/2 teaspoon baking powder
1 stick plus 2 tablespoons (10 tablespoons) unsalted butter, at room temperature
1 cup sugar
1 large egg
1 large egg yolk
1 teaspoon pure vanilla extract
Sugar or cinnamon sugar, for dusting (optional)

Whisk the flour, salt and baking powder together.

1. Working with a stand mixer, preferably fitted with a paddle attachment, or with a hand mixer in a large bowl, beat the butter at medium speed for a minute or so, until smooth. Beat in the sugar and continue to beat for about 2 minutes, until the mixture is light and pale. Add the egg and yolk and beat for another minute or two; beat in the vanilla. Reduce the mixer speed to low and steadily add the flour mixture, mixing only until it has been incorporated — because this dough is best when worked least, you might want to stop the mixer before all the flour is thoroughly blended into the dough and finish the job with a rubber spatula. When mixed, the dough will be soft, creamy and malleable.

2. Turn the dough out onto a counter and divide it in half. If you want to make roll-out cookies, shape each half into a disk and wrap in plastic. If you want to make slice-and-bake cookies, shape each half into a chubby sausage (the diameter is up to you — I usually like cookies that are about 2 inches in diameter) and wrap in plastic. Whether you're going to roll or slice the dough, it must be chilled for at least 2 hours. (Well wrapped, the dough can be refrigerated for up to 3 days or frozen for up to 2 months.)

3. Center a rack in the oven and preheat the oven to 350 degrees F. Line two baking sheets with parchment or silicone mats.

4. If you are making roll-out cookies, working with one packet of dough at a time, roll out the dough between sheets of plastic wrap or wax paper to a thickness of 1/4 inch, lifting the plastic or paper and turning the dough over often so that it rolls evenly. Lift off the top sheet of plastic or paper and cut out the cookies — I like a 2-inch round cookie cutter for these. Pull away the excess dough, saving the scraps for rerolling, and carefully lift the rounds onto the baking sheets with a spatula, leaving about 1 1/2 inches between the cookies. (This is a soft dough and you might have trouble peeling away the excess or lifting the cutouts; if so, cover the dough, chill it for about 15 minutes and try again.) After you've rolled and cut the second packet of dough, you can form the scraps into a disk, then chill, roll, cut and bake.

5. If you are making slice-and-bake cookies, use a sharp thin knife to slice the dough into 1/4-inch-thick rounds, and place the rounds on the baking sheets, leaving about 1 1/2 inches of space between the cookies.

6. Bake the cookies one sheet at a time for 9 to 11 minutes, rotating the sheet at the midpoint. The cookies should feel firm, but they should not color much, if at all. Remove the pan from the oven and dust the cookies with sugar or cinnamon sugar, if you'd like. Let them rest for 1 minute before carefully lifting them onto a rack to cool to room temperature.

7. Repeat with the remaining dough, cooling the baking sheets between batches.
Storing: The cookies will keep at room temperature in a tin for up to 1 week. Wrapped well, they can be frozen for up to 2 months.

Tuesday, December 9, 2008

TWD: GRANDMA'S ALL OCCASION SUGAR COOKIES

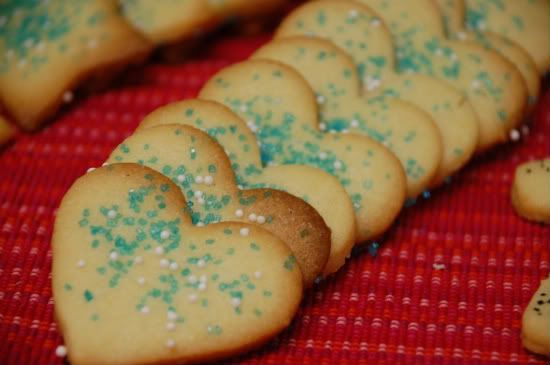
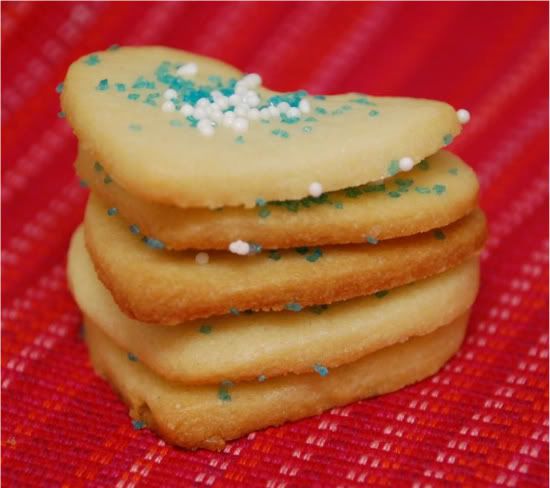
Ulrike of Kuchenlatein chose Grandma's All-Occasion Sugar Cookies for this week's Tuesday's With Dorie entry. I posted about sugar cookies (here) a while back and I wasn't thrilled with them all together. I've always been under the impression that sugar cookies were boring and tasteless unless topped with creamy icing of some sort. However, my feelings have changed after making these and creamy icing is completely unnecessary. This recipe produces the quintessential sugar cookie; buttery, crispy, soft in the center and just sweet enough. They were super easy to make and rolled out beautifully. I used a hand full of different cookie cutters to create various shapes and sizes. I made hearts....
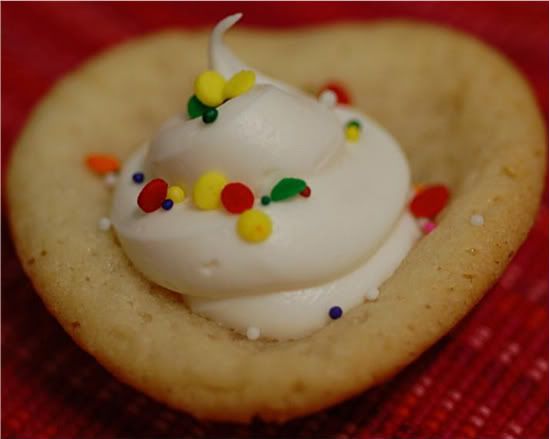

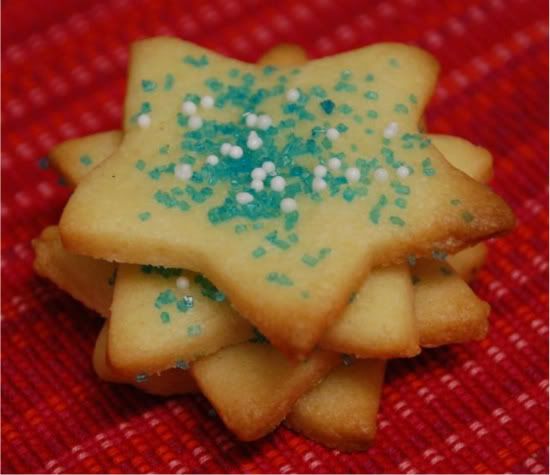
Then moved on to stars...
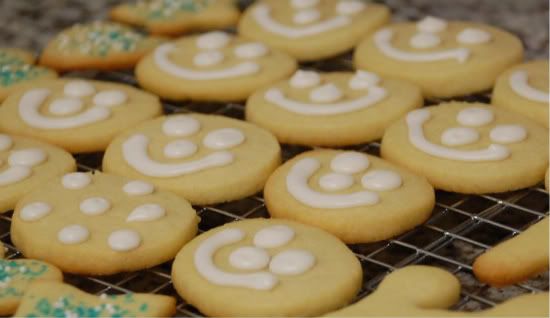
Smiley faces...
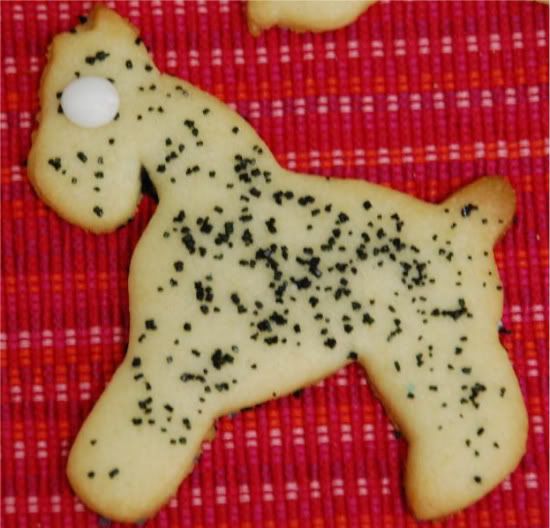
And Poodles and Schnauzers for fun...
If only I could have created a Schnoodle cookie...ha, ok I'm signing off for now... :)

Monday, December 8, 2008

TWD: BELATED LINZER SABLES

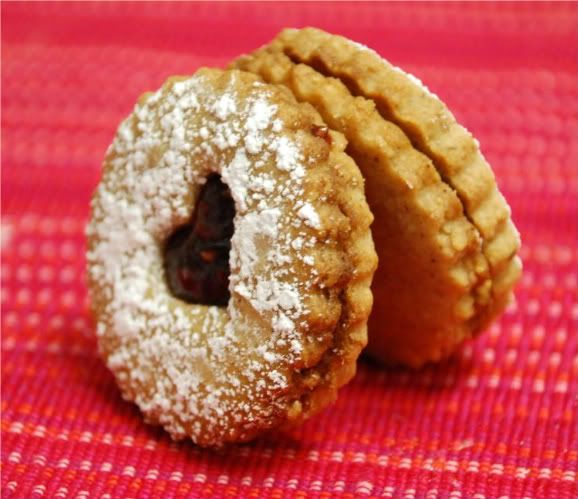
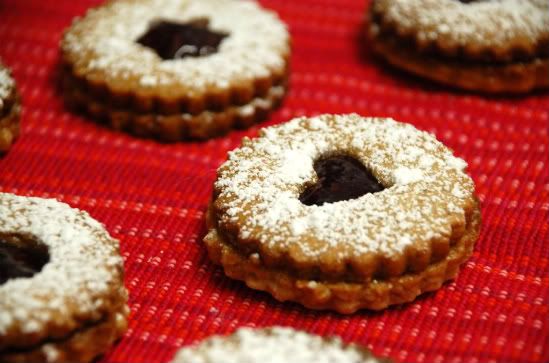
I'll make this quick. Nick of Living The Life chose this recipe and my dad really thanks you, Nick. No, really, he personally wanted to thank you because linzers are his favorite kind of cookie! I was away for the Thanksgiving holiday and I'm finally caught up with my sugar cookies ready for posting tomorrow. These linzers were deeeeelicious. They were crispy and crunchy with the slightest hint of cloves sandwiched between sweet raspberry jam. I used walnuts as my nut-base however, next time I'm going to grind up hazelnuts and spread some Nutella in between. These cookies were pretty easy to make and I plan on making more for the holidays. You can find the recipe here.

Wednesday, December 3, 2008

DEVIL DOG WHOOPIE PIES

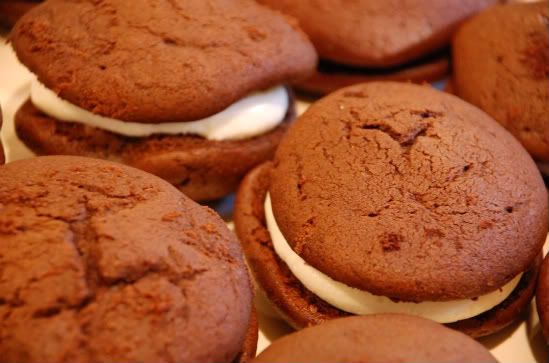
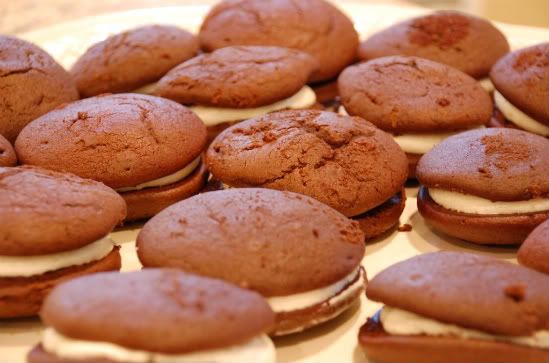
OK, seriously....these were amazing!! They tasted exactly like the old school devil dogs with a homemade vibe. Oh how I LOVED devil dogs growing up. My mom packed my lunch box with 1 devil dog everyday for as long as I can remember and when I was given the opportunity to home-make these I was all over it! I got the recipe from joy of baking which is an excellent site for both basic and elaborate desserts. Every recipe I've ever made from this site has turned out fabulously. I made these for Thanksgiving to stray away from your typical pumpkin themed desserts for those who dislike pumpkin. Don't get me wrong, I made plenty of pumpkin desserts but I thought the kids in my family (by kids, I mean my little cousins) would enjoy these. The vanilla filling had a great texture and held it's shape without spilling over the edges; making it a messy-free cookie. The actual cookie and filling was so easy to make. I will most definitely be making these again, perhaps with a chocolate based filling. I'd also like to try these with a vanilla cookie and almond filling by adding a little almond extract. How about a chocolate cookie with mint filling? Yum. Please make these, you'll love them.
Recipe found here.