Tuesday, April 28, 2009

DARING BAKERS DO CHEESECAKE!


This month's edition of the Daring Bakers was chosen by Jenny of Jenny Bakes who went with cheesecake! Yay for cheesecake!! For most of my life I was never a huge fan of cheesecake. Growing up, my brother was always the one to order dessert after dinner and 99% of the time it was a New York style cheesecake (1% of the time being an apple crisp.) Since I would never order my own dessert (god forbid!), I would always nibble on the crust of his cheesecake because the idea of the actual cheesecake turned my stomach. However, something happened to me in the last few years. I've become a cheesecake connoisseur. Perhaps it's because I enjoy baking cheesecakes so much. They really are my most favorite dessert to make and eat. The cheesecake pops I made last year really did me in. Clearly.

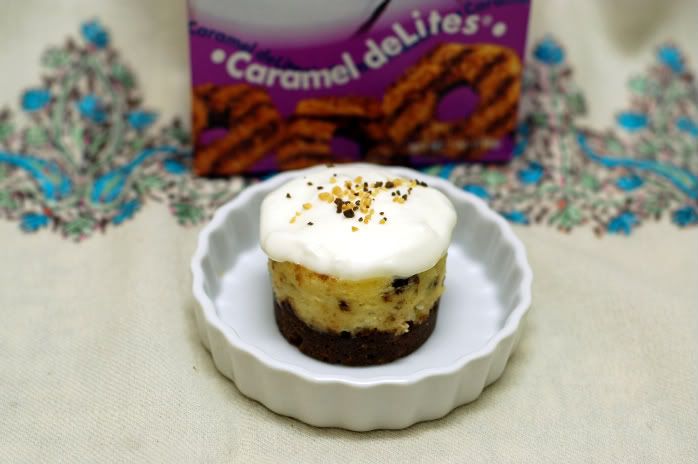
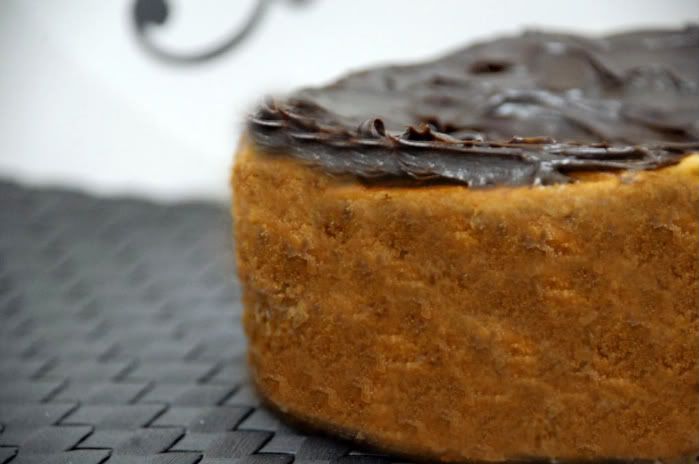
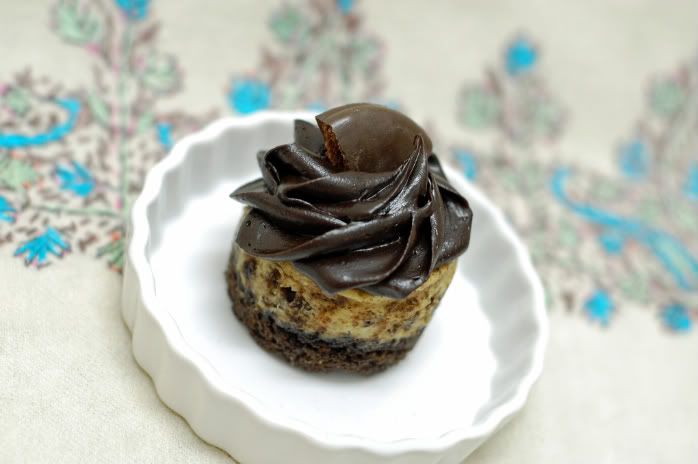
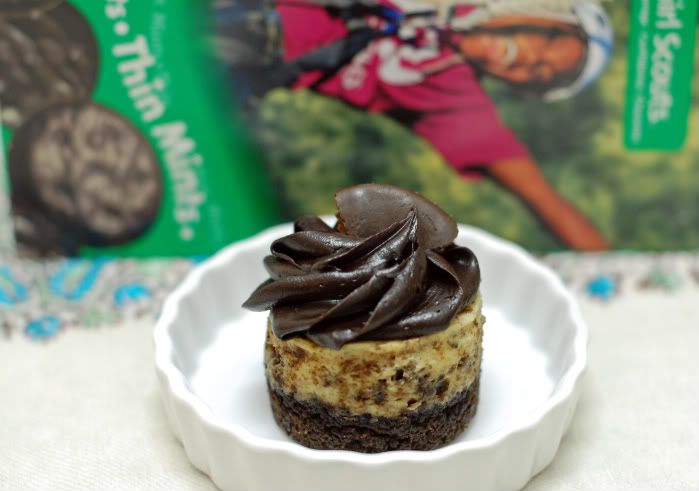
So here's the deal folks. Unlike most Daring Baker challenges, this cheesecake challenge allowed much room for creativity, uniqueness, and personal touch. The point of this challenge was to create a cheesecake flavor/combination using 'Abbey's Infamous Cheesecake' recipe which acts as your typical "basic cheesecake". I went ahead and created girl scout cookie mini cheesecakes. Yes, you heard right! We've got Thin Mint cookie mini cheesecakes, Samoa cookie mini cheesecakes, and a 6inch round Tagalong cheesecake. These. Were. Awesome.
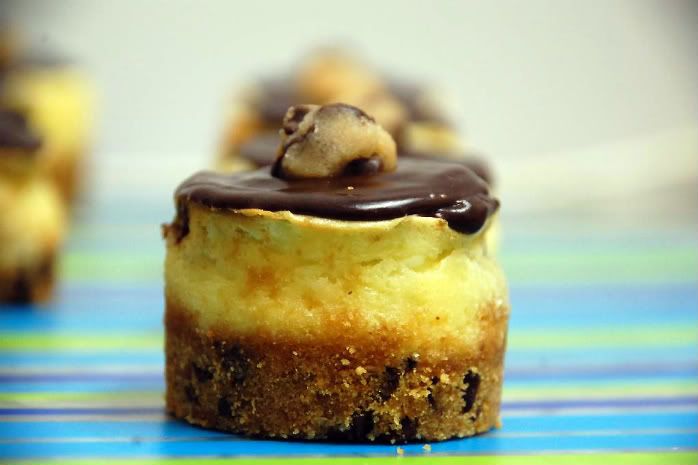
Pictured above is the Thin Mint mini cheesecake topped with a dark chocolate ganache and garnished with Thin Mint cookie. The crust is made with finely ground thin mint cookie and the cheesecake filling has coarsely chopped Thin Mints throughout.
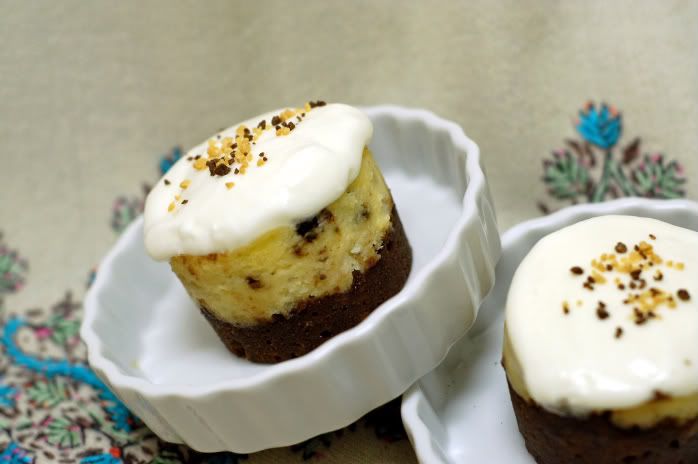
Here we have a Samoa cookie mini cheesecake prepared the same way as the Thin Mint; Samoa cookie crust with a Samoa cookie chunk filling, topped with a sweet vanilla whipped cream and Samoa cookie crumbles. These were seriously fabulous and such a delightful mini treat! They flew off my desk in a matter of moments at work. Oh, and the actual cheesecake recipe? Fantastic! It was super creamy and rich and so incredibly easy to put together. Since I did the mini's, I didn't use a water bath (they didn't need it) but for the 6 inch cheesecake I did and it baked beautifully.

I had leftover batter after making about 16 minis that I decided to make a 6inch cheesecake using a Tagalong cookie crust, followed by chopped up Tagalongs in the filling. I used the same dark chocolate ganache on top as I did the mini Thin Mints. Fabulous.

This cheesecake recipe is a keeper. It will be laminated and posted on my fridge! To all you cheesecake lovers out there, go ahead and make this recipe, you will not be disappointed!
Check out all the other Daring Baker's cheesecake creations at the Daring Bakers blogroll.

*On a side note, if you're really into baking with Girl Scout cookies check out my Samoa Cookie Cupcakes and Samoa Cheese Tart!*

Abbey's Infamous Cheesecake:

CRUST:
2 cups / 180 g graham cracker crumbs
1 stick / 4 oz butter, melted
2 tbsp. / 24 g sugar
1 tsp. vanilla extract

CHEESECAKE
3 sticks of cream cheese, 8 oz each (total of 24 oz) room temperature
1 cup / 210 g sugar
3 large eggs
1 cup / 8 oz heavy cream
1 tbsp. lemon juice
1 tbsp. vanilla extract (or the innards of a vanilla bean)
1 tbsp liqueur, optional, but choose what will work well with your cheesecake

DIRECTIONS:
1. Preheat oven to 350 degrees F (Gas Mark 4 = 180C = Moderate heat). Begin to boil a large pot of water for the water bath.

2. Mix together the crust ingredients and press into your preferred pan. You can press the crust just into the bottom, or up the sides of the pan too - baker's choice. Set crust aside.

3. Combine cream cheese and sugar in the bowl of a stand-mixer (or in a large bowl if using a hand-mixer) and cream together until smooth. Add eggs, one at a time, fully incorporating each before adding the next. Make sure to scrape down the bowl in between each egg. Add heavy cream, vanilla, lemon juice, and alcohol and blend until smooth and creamy.

4. Pour batter into prepared crust and tap the pan on the counter a few times to bring all air bubbles to the surface. Place pan into a larger pan and pour boiling water into the larger pan until halfway up the side of the cheesecake pan. If cheesecake pan is not airtight, cover bottom securely with foil before adding water.

5. Bake 45 to 55 minutes, until it is almost done - this can be hard to judge, but you're looking for the cake to hold together, but still have a lot of jiggle to it in the center. You don't want it to be completely firm at this stage. Close the oven door, turn the heat off, and let rest in the cooling oven for one hour. This lets the cake finish cooking and cool down gently enough so that it won't crack on the top. After one hour, remove cheesecake from oven and lift carefully out of water bath. Let it finish cooling on the counter, and then cover and put in the fridge to chill. Once fully chilled, it is ready to serve.

Pan note: The creator of this recipe used to use a springform pan, but no matter how well she wrapped the thing in tin foil, water would always seep in and make the crust soggy. Now she uses one of those 1-use foil "casserole" shaped pans from the grocery store. They're 8 or 9 inches wide and really deep, and best of all, water-tight. When it comes time to serve, just cut the foil away.

Prep notes: While the actual making of this cheesecake is a minimal time commitment, it does need to bake for almost an hour, cool in the oven for an hour, and chill overnight before it is served. Please plan accordingly!

Monday, April 27, 2009

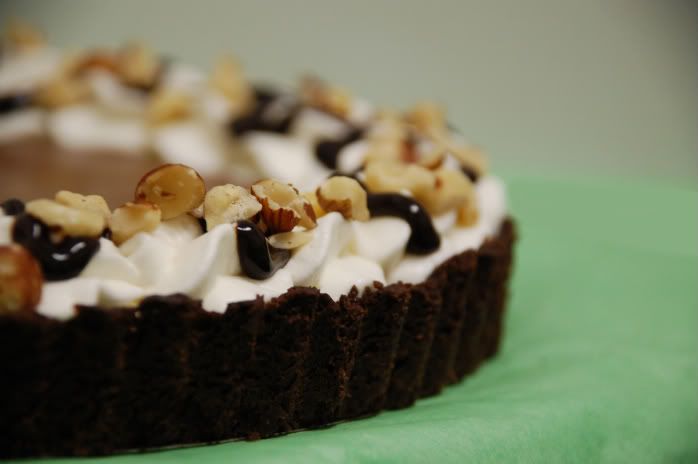
TWD: CHOCOLATE HAZELNUT CREAM TART


Kim of Scrumptious Photography chose this weeks TWD recipe. Side note: Kim's blog is incredible. The title speaks for itself. Anywayyyyyy, I've had my eye on this chocolate cream tart since I bought the book over a year ago so I was psyched when I saw this weeks selection. I'm not even sure why I've wanted to make this considering I'm not really into tarts that consist of some sort of pastry cream filling, but I enjoy baking and creating tarts immensely. Strange, I know.

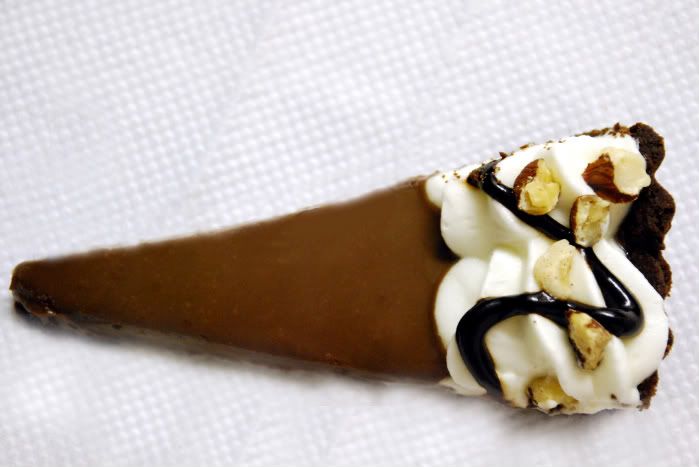
First of all, this sweet chocolate tart crust is fantastic. It has a shortbread consistency with a touch of chocolate flavoring. It's crumbly, buttery, and not overly sweet thus allowing the filling to really shine. I used my best Valrhona cocoa powder which really makes the difference here.

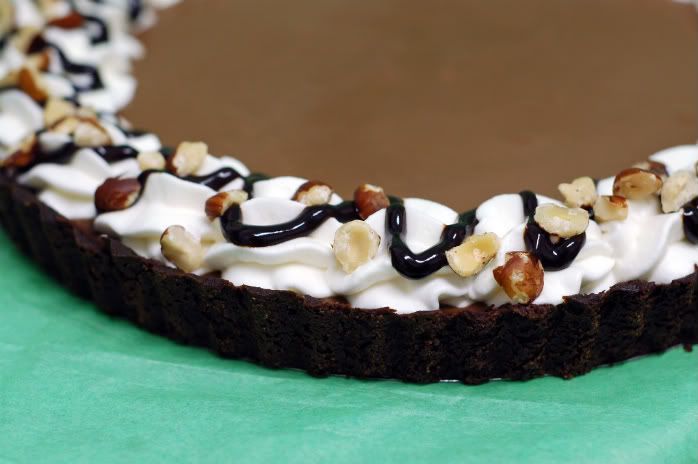
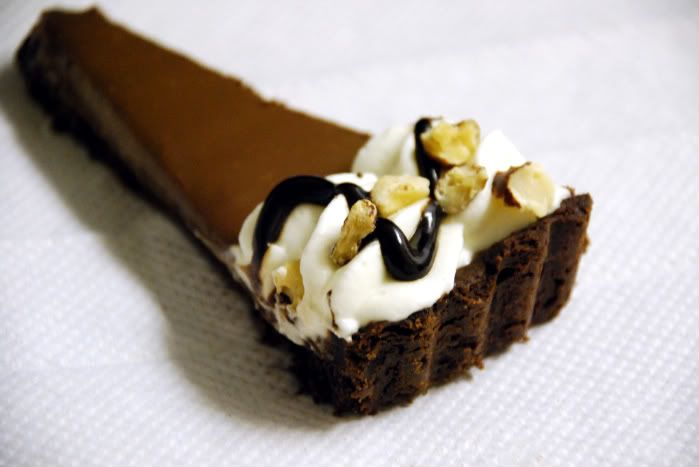
As for the filling, I wanted to alter the flavors a tad by adding hazelnut. The chocolate filling was a cinch to make and it was velvety, smooth, and rich. I used Sharffen Berger bittersweet chocolate which was really delicious to eat plain ;) Before spooning the chocolate filling into the baked and cooled tart shell, I spread a thin layer of Nutella, followed by filling, garnished with whipped cream, drizzled with chocolate syrup and a sprinkle of toasted hazelnuts. Whoa, that was a mouthful. Wallah! The most beautiful tasty chocolate hazelnut cream tart I've ever had, hands down! This recipe brought my love for chocolate tarts to surface! For the recipe, visit Kim's blog.

Friday, April 24, 2009

ANGEL FOOD CAKE BITES


Ahhhhh, I've been doing SO MUCH baking this week..it's serious insanity! Evidence can be seen below this post with brownies, bread pudding, cupcakes, and what have you. Last night I made my TWD recipe due Tuesday; chocolate hazelnut cream tart (whoa, amazing!-will blog about that next week) and between the tarts, cupcakes, and brownies this week I had tons of egg whites left over. I'm going away next week and I didn't want to put all those whites to waste so while the tart was cooling, I thought it would be fun to whip up angel food cake.
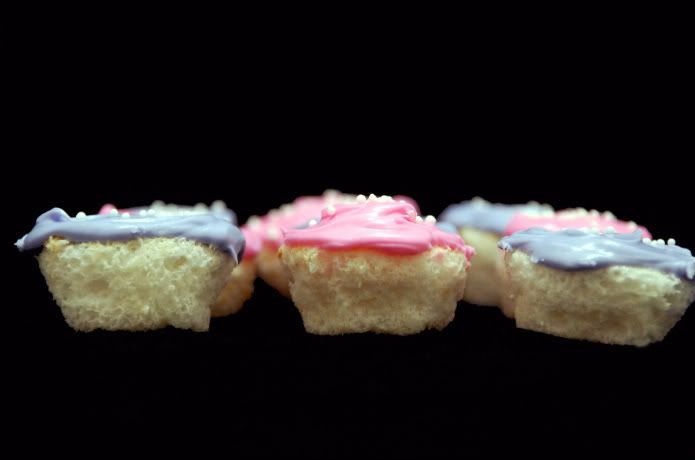
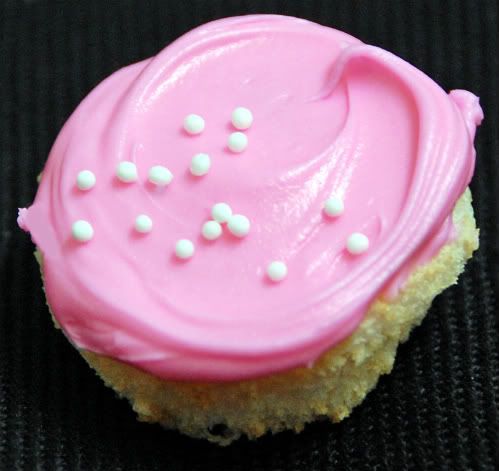
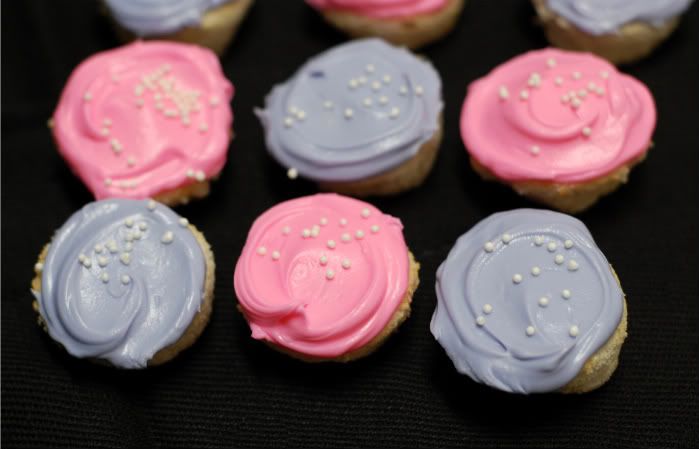
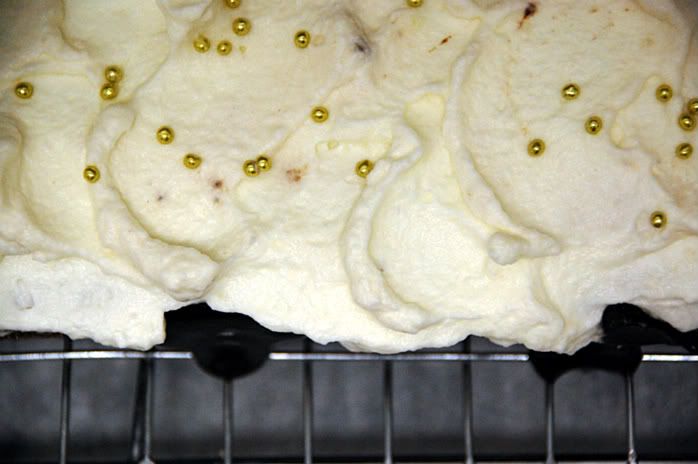
I whipped up this recipe from Epicurious in no time and baked these little guys in mini cupcake tins. I figured they would bake as robust as the mini tins allowed but, to my surprise, angel food cake doesn't really rise that much. It's more of a gummy yet light cake. So, here I was with 4 dozen of the littlest, miniest, cutest angel bites that were fat free (pre frosting)! You can pop these suckers in your mouth like popcorn. I spread little dollops of vanilla (canned-so shoot me!) frosting with some white nonpareils. Wallah, angel food cake bites. Enjoy these for a fun, remotely guilt free treat!

Thursday, April 23, 2009

BLACK & WHITE CHEESECAKE BROWNIES


OK, hear me out. By the time this post is done, I expect you all to have your ingredients out, measured, prepared, and ready to go. This recipe is a true winner. Brownies. Cheesecakes. More brownies. Something I'd like to call brownie bliss...

It's unfair how good these are. They should be deemed illegal in all 50 states. The bottom brownie layer is soft and gooey followed by a sufficient but not overwhelming thin creamy cheesecake layer. Crumbles of brownie dough are then added to the top while the edges are crisp and cookie-like. It's a combination of chocolate cookies, chocolate brownies, and cheesecake all in one delicious bar.

The one, and I mean only one drawback is that this recipe requires some legwork and time, which I was unaware of before I started. You see, I went to dinner with a friend last night and needed some time to digest before I went for a run. Baking is the best time-killer. So, I set out to make these brownies thinking I'd whip up the batter in no time and have them baked within the hour and have them cool while I'm at the gym. I skipped a few steps to see the baking time which said "25-30 minutes" so I assumed this would be a quickie! Well, the few paragraphs that I skipped detailed a few processes that required time. There's Refrigeration. Baking. Cooling. Baking again. That kinda thing...

All in all, I don't care that I ended up at the gym at 9pm because these brownies were well worth it and after ingesting so many of them the gym was clearly needed! Make these. Enjoy!

Black & White Cheesecake Brownies-From Martha Stewart

Makes 24

Vegetable oil cooking spray

2 cups plus 2 tablespoons all-purpose flour

3/4 cup unsweetened Dutch-process cocoa powder

1 teaspoon baking soda

1/2 teaspoon salt

10 ounces (2 1/2 sticks) unsalted butter, softened (this is a ton of butter, I cut back to 2 sticks)

2 cups granulated sugar

3 large eggs

21/2 teaspoons pure vanilla extract

8 ounces cream cheese, softened

1/2 cup confectioners' sugar

Directions

  1. Preheat oven to 325 degrees. Coat a 9-by-13-inch baking dish with cooking spray. Line dish with parchment, leaving a 2-inch overhang on both long sides, then spray parchment.
  2. Sift flour, cocoa powder, baking soda, and salt into a large bowl. Cream butter and granulated sugar with a mixer until smooth. Add 2 eggs and 2 teaspoons vanilla, and beat until smooth, scraping down sides of bowl. Reduce speed to low; add flour mixture. Increase speed to medium; beat until incorporated.
  3. Reserve 1 cup of dough; cover, and refrigerate. Press remaining dough into bottom of prepared dish. Refrigerate for 30 minutes. Bake until base is set and edges are puffed, about 25 minutes. Let cool in dish on a wire rack.
  4. Mix cream cheese, confectioners' sugar, and remaining egg and 1/2 teaspoon vanilla in a medium bowl. Spread over cooled base; crumble reserved dough on top. Bake until filling is set, 25 to 30 minutes. Let cool in dish on wire rack, then lift out using overhang. Cut into 24 squares. Squares will keep, covered and refrigerated, for up to 3 days.


Tuesday, April 21, 2009

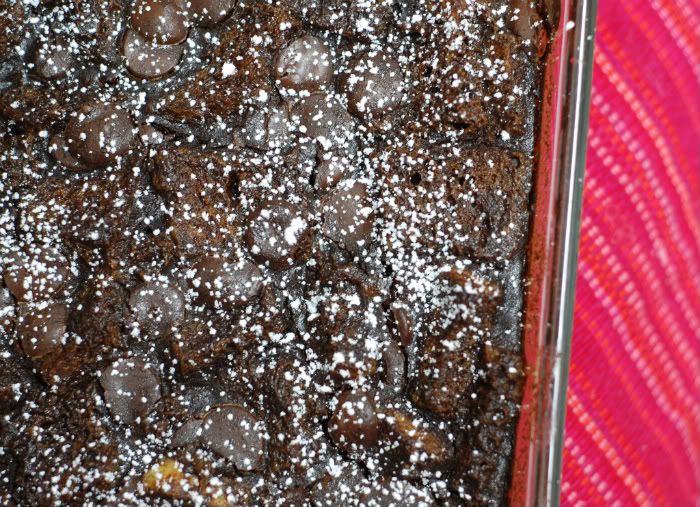
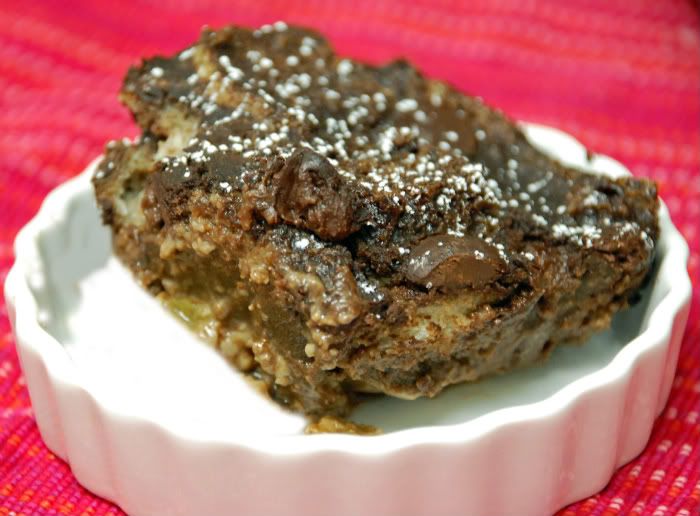
TWD:FOUR STAR CHOCOLATE BREAD PUDDING

I'll make this short and sweet. It's late, I'm tired, and I've posted a lot this week! Give a sista a break!
Thanks to Lauren of the Upper East Side Chronicle for choosing this weeks TWD selection: 4 star chocolate bread pudding.  I have to be honest, I've never been a fan of bread pudding. The consistency was always weird to me and I never quite understood the marriage of white bread with pudding. It's just strange.

With that said, I wasn't a huge fan of this recipe.  I even doubled the chocolate with the idea that super chocolaty would equal super delicious. Wrong. I'm sorry to be such a Debbie downer but it is what it is...I just didn't like it! OK? Geez.

The other TWD'ers seemed to have really enjoyed this, so don't go by my biased bread pudding feelings.  Check out Lauren's blog for the recipe!

CAKE SLICE BAKERS: CHAI CAKE


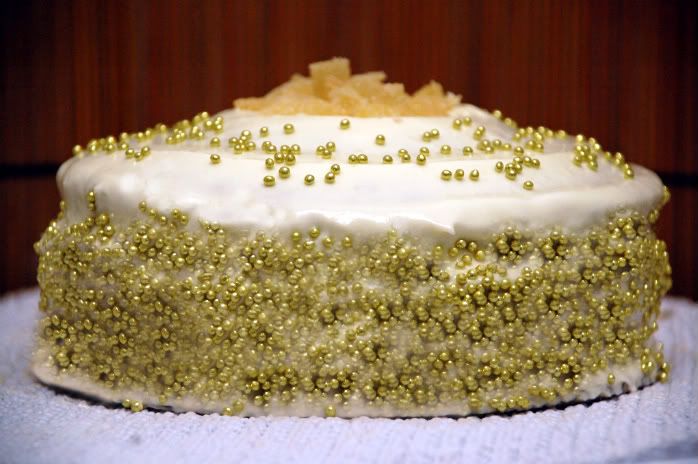
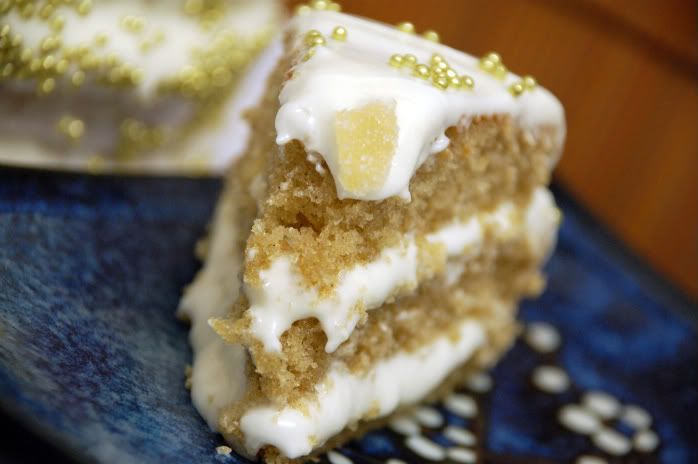
I've been M.I.A. from the cake slice bakers group for about a month now. Sorry to all, but I've been swamped and haven't gotten the chance to bake all these cakes! However, I clearly came back at the right time because this Chai cake was unlike any cake I've ever baked. Chai tea bags are steeped in warm milk for about 10 minutes before being used as part of the wet ingredients. Chai tea is a favorite of mine, especially spiced Chai which is what I used. Cardamom, cinnamon, and ginger spices were added to the cake which really gave it a pleasant tasty zing. The honey ginger buttercream was definitely unique. While I'm not a huge fan of honey, this buttercream was very good; consisting of cream cheese, butter, honey, and freshly grated ginger. It paired beautifully with the cake.

I garnished with gold dragees and a pile of diced up crystallized ginger in the center. Check out the other great Chai cakes at the cake slice bakers blogroll.

Chai Cake With Honey Ginger Cream
Makes an 8-inch triple layer cake (I quartered the recipe)
  • 1 and 1/3 cups of milk
  • 6 chai tea bags, without added sweetener, such as Tazo
  • 4 whole eggs
  • 2 egg yolks
  • 2 teaspoons of vanilla extract
  • 2 and 3/4 cups of cake flour*
  • 2 cups of sugar
  • 4 and 1/2 teaspoons of baking powder
  • 3/4 teaspoons of ground cinnamon
  • 1/2 teaspoon of ground cardamom**
  • 1/2 teaspoon of salt
  • 8 ounces of unsalted butter at room temp.
[*1 cup of cake flour is equal to 3/4 cup of all purpose flour plus 2 tablespoons of cornstarch.]

[**Cardamom substitute is an equal amount of brown cardamom OR equal parts ground nutmeg and cinnamon OR equal parts ground cloves and cinnamon]

  1. Preheat the oven to 350 Degrees F. Grease the bottom ans sides of the pans and line with parchment paper. Grease the paper as well.
  2. In a small saucepan bring the milk to a simmer over low med-low heat. Add the tea bags, careful not to let the paper tag fall into the milk. Remove from heat and allow the tea to steep for 5 minutes. Remove the teabags and squeeze out the milk. Let the chai milk cool completely.
  3. In a medium bowl mix the eggs, egg yolks, vanilla, and 1/3 cup of the chai milk. Whisk together.
  4. Combine the flour, sugar, baking powder, cinnamon, cardamom, and salt in the bowl of a mixer. Beat on low for 30 seconds. Add the butter and the remaining chai milk, on med-low speed. Raise the speed to medium and beat until light and fluffy. Add the egg mixture in three additions scraping the between additions. Divide the batter evenly among the pans.
  5. Bake the cakes for 26-28 minutes, or until a cake tester inserted in the middle comes out clean. Allow the cakes to cool in the pans for 10 minutes. Remove cakes from pans and peel off parchment paper. Cool completely.
  6. To assemble the cake place one layer flat side down a serving plate and top with 2/3 cup of icing. Spread to the edge and repeat with second layer. Place third layer on top and spread the remaining ginger cream on top allowing it to drizzle down the sides of the cake like icicles.
Honey Ginger Cream
  • 2 and 1/2 cups of confectioners sugar
  • 6 ounces of cream cheese at room temp.
  • 6 tablespoons of unsalted butter at room temp.
  • 1/2 cup of honey (any kind as long as liquid)
  • 1/2 teaspoon of fresh grated ginger
Place all the ingredients in a food processor. Pulse to blend together, then scrape the sides of the bowl and pulse until smooth.

Monday, April 20, 2009

ICE-9: CHOCOLATE CHERRY FUDGE SODA POP CUPCAKES


It's that time of month again... Iron Cupcake Earth style. Secret ingredient: Soda pop!

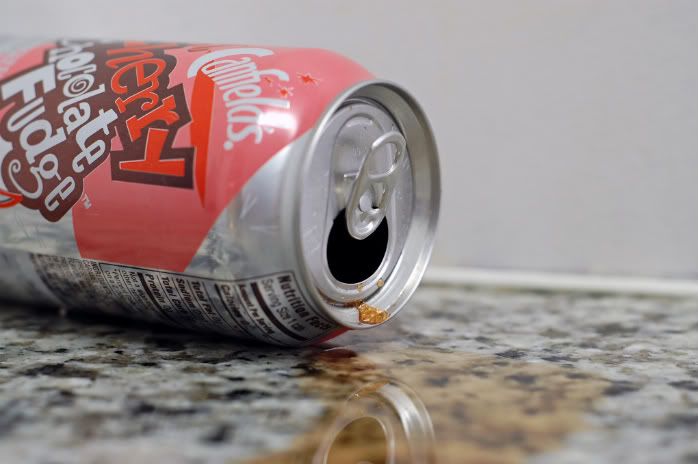
I'm a soda junkie..diet soda, that is. I've had every single diet soda flavor under the sun; diet Sunkist and diet Root beer to name a few of my favorites. While perusing the soda aisle at my local supermarket for something unique I found Canfield's Cherry Chocolate Fudge soda...and...wait for it....in Diet!

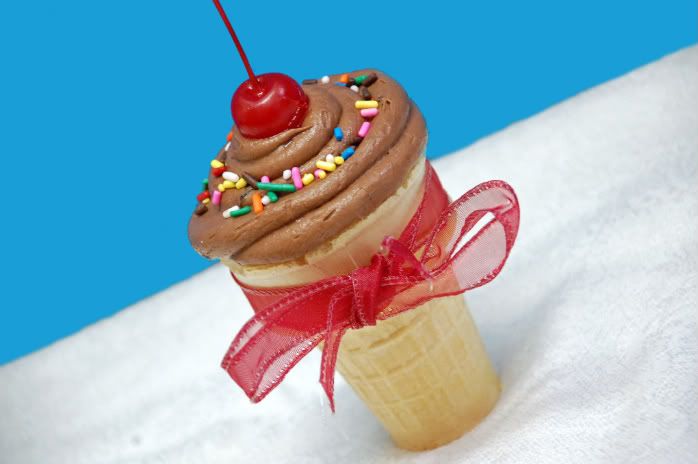
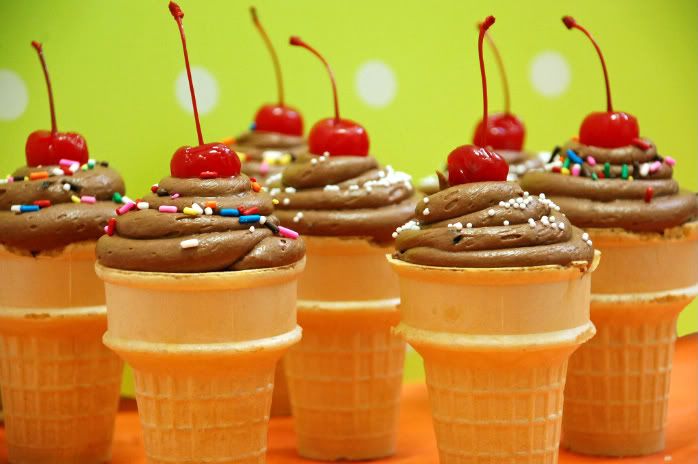
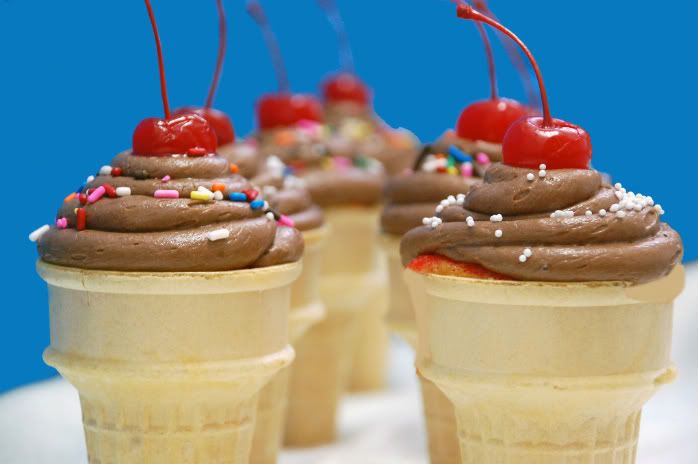
I got so excited I could hardly contain myself. I rushed out of the supermarket; all the while brainstorming what I could come up with, with this fun flavor. Alas, I went with a chocolate cherry fudge soda pop infused cupcake baked in an ice cream cone with a black cherry filling, black cherry fudge buttercream, sprinkles, and a maraschino cherry on top! How could this be bad? Didn't think so.

These were so much fun. They had an authentic old school soda pop feel with rich cherry fudge flavors. I colored 1 cup of the batter red and swirled it within each cupcake. I filled each cone about 1/2 full and baked them using mini muffin tins as holders. Once cooled, I "injected" this fabulous black cherry jam I've been holding on to for months that I got at a country fair a while back.

The batter was made with the aforementioned Canfield's cherry chocolate fudge diet soda which amped up the "cherry" vibe to this cone-cake. Now, the frosting was made on a whim. I wasn't sure how I wanted to handle the best part to a cone-cake (i.e. the frosting) but I kind of just went with my gut. This frosting was a combination of cream cheese, Ghirardelli cocoa powder, butter, confectioner's, milk, and lastly, Green & Black's Organic cherry chocolate bar. This might have been the tastiest frosting I've ever made, to date. The actual cherry chocolate bar has cherry chunks in it which is very prevalent throughout the frosting.

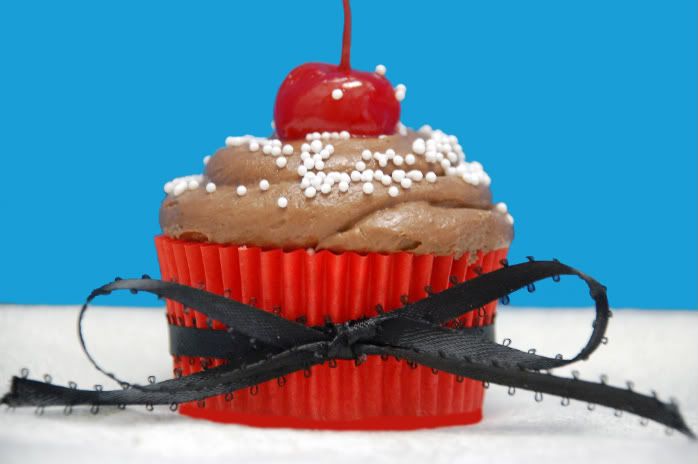
I had some extra batter left over so I made a few regular cupcakes baked in paper liners. These were equally delicious although not as fun to eat! This month's Iron Cupcake was a great challenge which I thoroughly enjoyed.

With that said, don't forget to vote for me! Voting takes place on April 29 and will be open thru May 4th @ 12Noon. Click here to vote!

Chocolate Cherry Fudge Soda Pop Cupcakes
1 cup (2 sticks) butter, at room temperature
2 cups sugar
4 eggs
3 cups sifted self-rising flour
1 cup milk
1 teaspoon pure vanilla extract 
3/4 cup Canfields Chocolate Cherry Fudge soda

DIRECTIONS

Preheat oven to 350 degrees F.

Line cupcake tins with paper liners. Using an electric mixer, cream butter until fluffy. Add sugar and continue to cream well for 6 to 8 minutes. Add eggs, 1 at a time, beating well after each addition. Put the milk and soda in a liquid measuring cup and stir. Add flour and milk/soda mixture alternately to creamed mixture, beginning and ending with flour. Add vanilla and continue to beat until just mixed. Scoop 1 cup of batter and put it aside. Using red food coloring, dye the batter. Divide batter equally among cupcake tins; filling each about 2/3 full by alternating between the yellow and red batter. Level batter in each pan by holding pan 3 or 4 inches above counter, then dropping it flat onto counter. Do this several times to release air bubbles and assure you of a more level cake. Bake for 18-25 (I forgot how long mine took) minutes or until done. Cool in pans 5 to 10 minutes. Once cooled, fill each cupcake with black cherry jam.

Chocolate Cherry Fudge Buttercream (my own recipe)

8oz cream cheese, softened

1 stick butter, softened

4 cups confectioner's sugar (sifted)

1/2 cup cocoa powder

3-4 tablespoons milk

1 bar (3.5oz) Green & Black Organic Cherry Chocolate bar, melted and cooled.

Beat cream cheese and butter in an electric mixer until smooth, about 3 minutes. While beating, add melted chocolate. Combine sifted confectioner's and cocoa powder together. Gradually add, 1 cup at a time, to the cream cheese mixture. Continue beating. Add a few tablespoons of milk until desired consistency. Pipe at your own risk!

Prizes for this months challenge include:

Last and certainly not least, don’t forget our corporate prize providers: HEAD CHEFS by FIESTA PRODUCTS, http://www.fiestaproducts.com, HELLO CUPCAKE by Karen Tack and Alan Richardson, http://blog.hellocupcakebook.com, JESSIE STEELE APRONS http://www.jessiesteele.com; TASTE OF HOME books, http://www.tasteofhome.com; a t-shirt from UPWITHCUPCAKES.COM http://www.upwithcupcakes.com/. Iron Cupcake:Earth is sponsored in part by 1-800-Flowers, http://www.1800flowers.com .


PB&J CUPCAKES


I went to my bosses house on Saturday to spend the day with his wife and kids which included lots of little league games! The weather was perfect and I had such a great time being back on the baseball fields. Of course I would never come empty handed so I brought some peanut butter and jelly cupcakes along. More often than not, kids love peanut butter and jelly sandwiches so I figured I couldn't go wrong with these....plus, there were no peanut allergies present. Score 1 for me.

This cupcake consisted of a yellow based cake with a peanut butter cream cheese frosting and filled with strawberry and/or grape jelly. I drizzled some strawberry/grape syrup on top for an extra fruity burst. I halved the recipe which gave me 7 regular sized cupcakes; one of which I put to the side for my own personal enjoyment. Let me tell you, these were fantastic. The yellow cake meshes perfectly with the jelly and peanut butter. Cream cheese peanut butter frosting has got to be my most favorite frosting on this planet. It's too good to be true.

I baked these cupcakes as is and changed nothing. The only thing I'd change for next time (and there will be a next time) is making a full batch of these rather than half. The kids absolutely loved these!

PBJ Cupcakes From Buttercup Bakes At Home
- makes 12 to 14 cupcakes -
1 1/2 cups all-purpose flour

1 teaspoon baking powder

1/2 teaspoon salt

1/2 cup (1 stick) unsalted butter, softened

1 cup sugar

2 large eggs, room temperature

3/4 cup milk

2 teaspoons vanilla extract

1 cup grape jelly

Chunky Peanut Butter Frosting (recipe follows)

Coarsely chopped peanuts or crushed peanut butter cups, for garnish

Procedure
1. Preheat oven to 350 degrees. Line 2 muffin tins with cupcake papers.

2. Sift the flour, baking powder, and salt into a medium bowl. Set aside.

3. In the bowl of an electric mixer, cream the butter and sugar on medium speed until fluffy, 2 to 3 minutes. Add the eggs one at a time, beating until well incorporated. Add the dry ingredients in two parts, alternating with the milk. Add the vanilla.

4. Spoon the batter into the prepared cups until each is about two-thirds full. Bake 20 to 22 minutes or until the tops spring back when lightly touched. Let cupcakes cool in pans for 10 minutes. Remove from pans, and allow to cool completely on a wire rack.

5. When cupcakes are thoroughly cool, fill a squeeze bottle with jelly, and then invert the tip of the bottle into the center of a cooled cupcake. Carefully squeeze about 1 tablespoon jelly into center of cupcake. Repeat with remaining cupcakes. Frost with Chunky Peanut Butter Frosting, and garnish with roasted salted peanuts or crushed peanut butter cups.


Chunky Peanut Butter Frosting
- makes 2 1/2 cups (enough to frost 14 cupcakes) -

1/4 cup (1/2 stick) unsalted butter, softened

3/4 cup chunky peanut butter (I used creamy peanut butter)

4 ounces cream cheese, softened

2 cups confectioners' sugar

1/2 tablespoon milk (a few drops more if needed)

Procedure
1. In a large bowl, beat the butter, peanut butter, and cream cheese in the bowl of an electric mixer on medium speed until light and fluffy, 1 to 2 minutes.

2. On low speed, slowly add 1 cup sugar, then a few drops milk. Increase mixer speed to medium-high, and mix thoroughly. Add remaining sugar and a few more drops milk if necessary.

3. Increase mixer speed to high, and mix until frosting is fluffy and reaches a good spreading consistency. Use immediately.


Friday, April 17, 2009

S'MORE BROWNIES


I love s'mores. I love the gooey marshmallow consistency paired with crunchy graham crackers, all bound by milk chocolate. Really, nothing is better than that. Then, throw all those goodies onto a brownie. Heaven. These brownies brought the campfire to the kitchen. These brownies officially give me a valid enough excuse to never have to camp out in the wilderness again, for the sake of s'more ingestion; because really, that was my only incentive to sleep with wildlife.

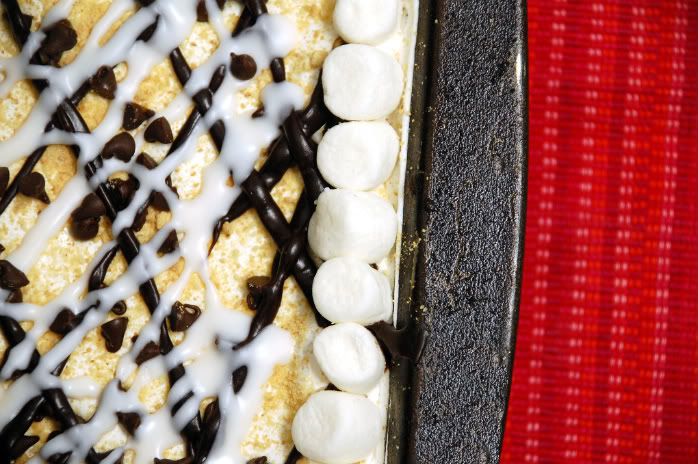
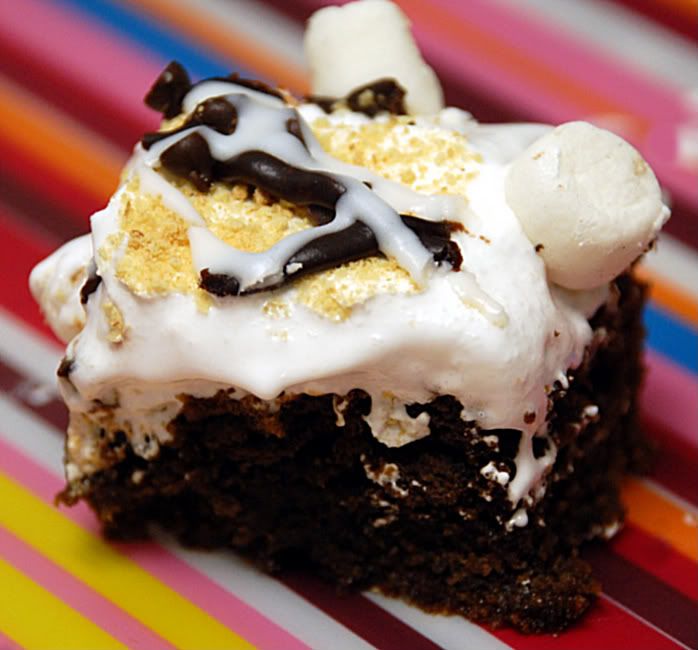
The marshmallow topping is to die for. So much so, that I ate it for dinner last night. Spoonfuls of homemade marshmallow clouds filled my tummy up until I couldn't take it anymore and it was oh so worth it! Yum. Rather than using honey graham crackers, I went with large chunks of chocolate graham cracker throughout the batter. Once I spread the marshmallow across the top, I then sprinkled with crushed graham cracker, mini semi-sweet chocolate chips, and drizzled white and dark chocolate. I garnished the border with mini mellows and cut this 9X13 pan into 24 very delicious, very rich s'more brownies. I encourage you all to make this immediately. You will NOT regret it, I promise.

S'MORE Brownies:

1 1/2 cups all purpose flour
2 teaspoons baking powder
1 teaspoon salt
1 cup (2 sticks) unsalted butter
6 ounces unsweetened chocolate, chopped
5 large eggs
1 1/4 cups dark brown sugar
1 cup granulated sugar
2 teaspoons vanilla
1 cup graham cracker, roughly crushed with your hands ( I used chocolate graham crackers)
12 big marshmallows (I added mini marshmallows to the batter as well)\

Preheat oven to 350°F. Butter 9×13-inch baking pan with 2-inch-high sides. Combine first 3 ingredients in small bowl. Stir butter and chocolate in a medium sized bowl over a heavy saucepan of simmering water. Stir chocolate and butter in this double boiler until melted and smooth.

Beat eggs, sugar and vanilla in large bowl to blend. Stir in warm chocolate mixture, then dry ingredients. Fold in graham crackers. Pour batter into prepared pan. Dot with 12 large marshmallows. Bake until toothpick inserted into center comes out with moist crumbs attached, about 30- 40 minutes minutes.

Marshmallows will be browned and puffy but will deflate as the brownies cool. Cool for at least 20 minutes than slice with a sharp knife, cleaning the knife with hot water if it gets too messy and sticky. Serve or wrap individually in wax paper for storing.

Marshmallow Frosting:

2 egg whites
1 1/2 cups white sugar
1/3 cup cold water
1 1/2 teaspoons light corn syrup
1 teaspoon vanilla extract
1 cup miniature marshmallows

Put egg whites, sugar, water and syrup in top of double boiler. Beat until mixed well. Place over rapidly boiling water. Beat constantly with electric beater while it cooks for 7 minutes or until it will stand in peaks when beater is raised. Remove from heat.Stir in marshmallows and vanilla. Beat until they melt.


Wednesday, April 15, 2009

MARSHMALLOW TWIST CUPCAKES (KOSHER FOR PASSOVER)


We still have 2 more days of Passover and I wanted to appease all my Jewish friends (including myself) who are keeping passover with these marshmallow twist cuppies! Passover desserts are weak. They are unappealing, boring, and tasteless. The very site of passover "cake" sends me running for the hills. They give me nightmares.

But not these. Oh no. These cupcakes are more like a Passover dream come true. These cupcakes make observing Passover something you want to do for more than just 8 days. These super chocolaty flour less cupcakes have a gooey marshmallow meringue frosting that makes your taste buds do flips. They are all garnished with a chocolate covered marshmallow twist and some chocolate flakes for good measure.

This flour less chocolate cake was a new recipe I tried. Rather than using 1lb of chocolate and mixing it with eggs, sugar, and butter; this recipe calls for 8oz of chocolate and 1 cup of cocoa powder. I used my very best Valrhona bittersweet bar chocolate as well as my Valrhona unsweetened cocoa powder. Needless to say, these were expensive cupcakes that were worth every penny. Passover season or not, these are a keeper all year round.

Flourless Chocolate Cake
{Makes about 16-19 regular sized cupcakes}

1 cup (2 sticks) butter, cut into pieces
8 ounces semisweet chocolate chips (about 1 1/2 cups) (I used Valrhona Bittersweet)
1 1/4 cups sugar
1 cup sifted unsweetened cocoa powder
6 large eggs

Preheat oven to 350°F. Butter 10-inch-diameter spring form pan (or make cupcakes, like I did). Line bottom with waxed paper. Stir butter and chocolate in heavy large saucepan over low heat until melted. Mix sugar and cocoa in large bowl. Add eggs; whisk until well blended. Whisk in chocolate-butter mixture. Pour batter into prepared pan. Bake until tester inserted into center comes out clean, about 45 minutes. Cool cake completely in pan on rack. Run knife around pan sides to loosen cake. Release pan sides. (Can be made 1 day ahead. Cover and refrigerate.)

Marshmallow Meringue Frosting:
{Makes enough for 24 cupcakes so you will have some leftover. You can use the extra as a filling!}

8 large egg whites
2 cups sugar
1/2 teaspoon cream of tartar
2 teaspoons pure vanilla extract

Place egg whites, sugar, and cream of tartar in the heatproof bowl of an electric mixer. Set over a saucepan with simmering water. Whisk constantly until sugar is dissolved and whites are warm to the touch, 3 to 4 minutes.


Transfer bowl to electric mixer fitted with the whisk attachment, and beat, starting on low speed, gradually increasing to high, until stiff, glossy peaks form, 5 to 7 minutes. Add vanilla, and mix until combined. Use immediately.

Tuesday, April 14, 2009

TWD: 15 MINUTE MAGIC CHOCOLATE AMARETTI TORTE


Holly from PheMOMenom chose this week's TWD recipe. I've been a huge fan of Holly's blog for a long time now and I fully entrusted her with this week's selection; the woman clearly knows her desserts. 15 Minute Magic Chocolate Amaretti Torte is a title that rolls off the tongue. Anything that takes 15 minutes to prepare is right up my alley. This torte requires the use of amaretti cookies which I ended up making from smitten kitchen. The cookies alone were delicious and so easy to make. The almond flavor was so prevalent and they were super chewy. I made these cookies a few days in advance so by the time I ground them up they had a crunch to them.

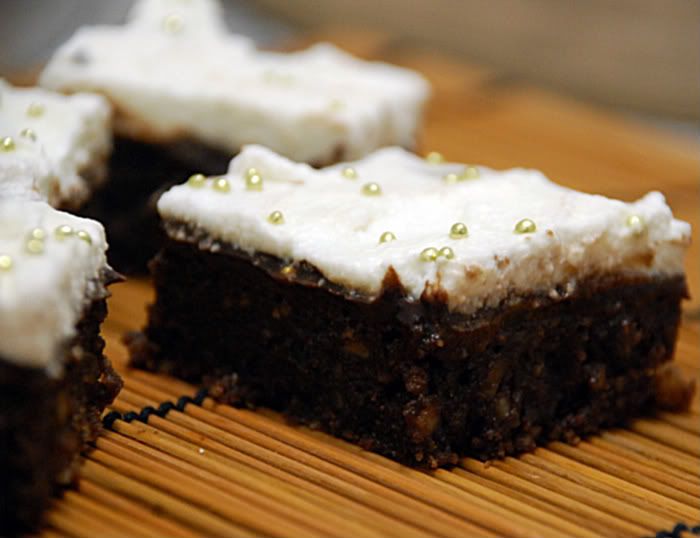
This torte is a combination of chocolate, ground almonds/amarettis, eggs, sugar and butter. That's it, folks. I baked it in an 8 inch square pan, smothered it in a bittersweet chocolate ganache, then topped it off with a delicious almond whipped cream. I added some small gold dragee's to give these bars a bit of color. As for the taste, these were OK. I mean, they were good; don't get me wrong, but this entire recipe wasn't really my thing. I could have eliminated the chocolate ganache topping and just gone with the almond whipped cream. However, everyone in the office really enjoyed these. If you're interested in testing this quickie out then check out the recipe at Holly's blog.

Thursday, April 9, 2009

THE BEST BLONDIES

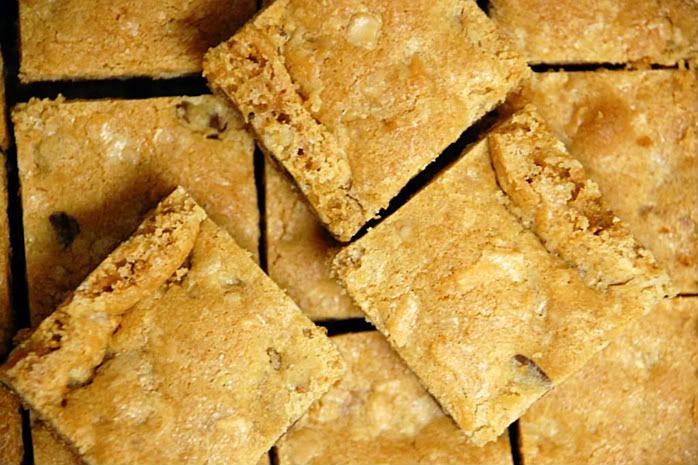
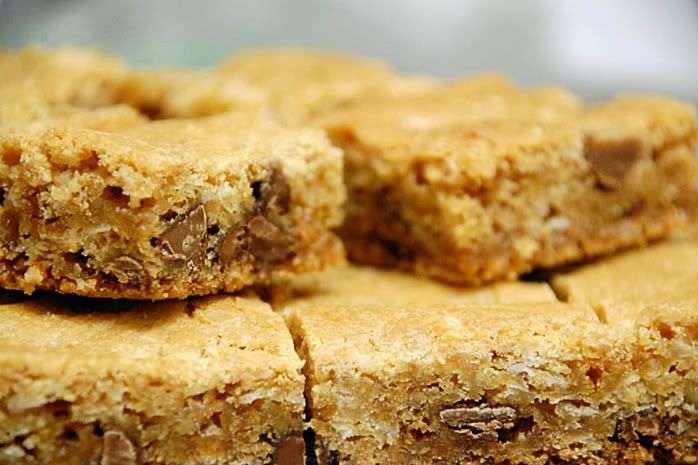
I made these blondies from Dorie Greenspan's baking bible a long time ago and felt the need to make them again, despite how many of them I can put in my mouth at once. They are by far the most fantastic blondies I've ever made and are even better than some of my best brownie recipes. They contain coconut, toffee bits, and chocolate chips. I went ahead and added some Butterfinger as well, just for kicks. These blondies have a real gooey caramel-type taste from all the brown sugar. They are super soft and chewy and stay good for DAYS on end.  When I cut these up I sliced off the 4 edges and froze them. That, my friends, is what I call my "secret stash" that I hit up from time to time!  

You can find the recipe here. Enjoy these, I know you will :)

Wednesday, April 8, 2009

MINI COOKIE DOUGH CHEESECAKES REVISITED

THESE.

WERE.

AMAZING.

*****UPDATE*****
I've gotten a ton of requests for this recipe. I didn't realize what a hit these would be! Anyway, I'm here to please so this is what you'll need:

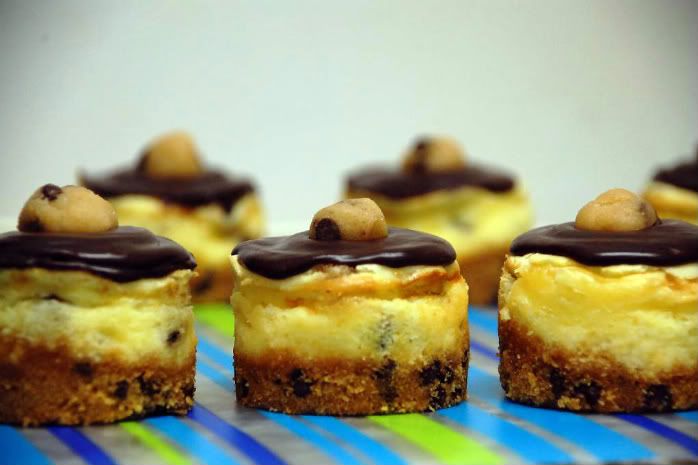
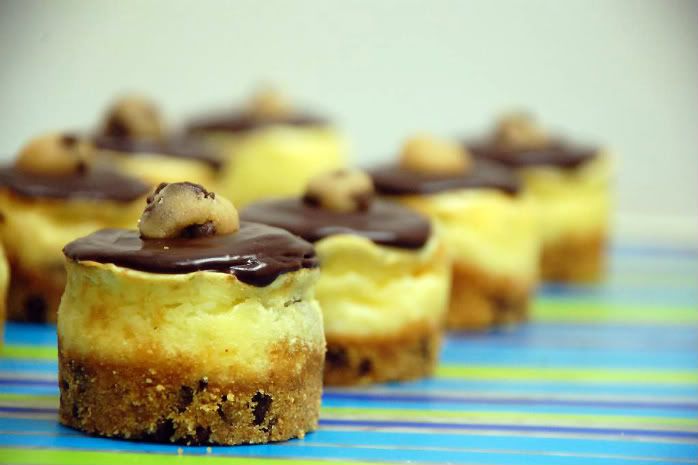
When making my cheesecakes I've developed a recipe that comes from a bunch of other recipes (a.k.a. too difficult to keep track). Therefore, for these cheesecakes, use your most beloved cheesecake/crust combination recipe and add the egg less cookie dough (recipe below) to it before baking. You can top it off with anything. In my case, I used my favorite chocolate ganache recipe. Also, make sure you bake these in a mini cheesecake pan with removable bottoms! Wallah! Enjoy.

  • EGG LESS COOKIE DOUGH RECIPE:
  • 5 tablespoons unsalted butter, at room temperature
  • 1/3 cup packed light brown sugar
  • 3 Tablespoons granulated sugar
  • 1/8 teaspoon salt
  • 1 teaspoon vanilla extract
  • 3/4 cup all-purpose flour
  • 1 cup semisweet chocolate chip
  • Using an electric mixer , mix butter, brown sugar, sugar, salt, and vanilla extract at medium speed until smooth. Decrease mixer speed to low and add flour. Mix just until incorporated. Stir in chocolate chips. Set aside.

Monday, April 6, 2009

TWD:BANANA CREAM PIE


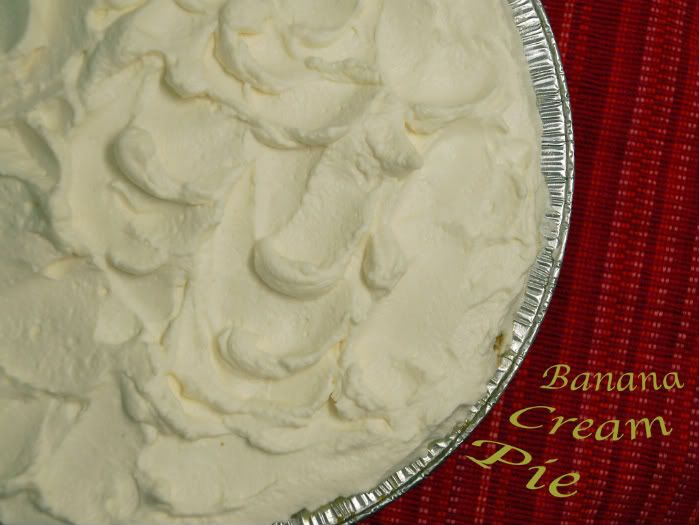
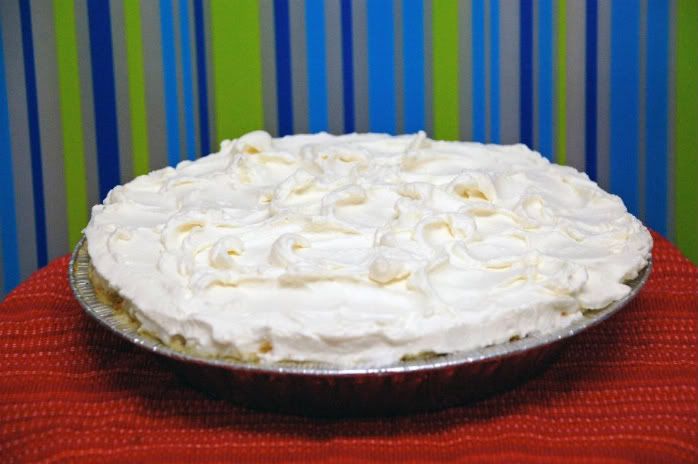
Amy of Sing for Your Supper selected this weeks TWD recipe; banana cream pie. I am a huge fan of banana cream pie so naturally I was excited to make this. On my way home from work last week, I stopped off at my corner fruit stand and bought the most gorgeous bananas. 8 bananas for $1.50, what a bargain! I've made banana cream pies before, found here, but Dorie's pie is oh so different. Dorie's pie filling consists of spiced caramel-like flavorings including cinnamon and nutmeg, and lots of brown sugar.

The sliced bananas are spread throughout the filling and the whipped cream topping has a touch of sour cream in it; which I thoroughly enjoyed. I did make one alteration to this pie, and that was the crust. I was really in the mood for a crispy crunchy graham cracker crust rather than good ol' pie crust so I went with that. This pie was seriously fantastic and definitely tasted different than other banana cream pies that I've made. It seemed more classic and authentic and the not-to-sweet whipped topping really enhanced the fillings flavors. This is a pie I most certainly will make again. Check out Amy's blog for the delicious recipe.

Thursday, April 2, 2009

CHOCOLATE PEANUT BUTTER CUPCAKES


I needed to put together a universally-liked cupcake as a 'thank you' gift for my veterinarians office; and I needed to do it quickly. You see, last week I experienced every pet owner's nightmare. My poor Bentley pup got his foot stuck in the elevator. Yep, it was an utter disaster. I had to rush him to the emergency vet @ 6am only to find out he needed surgery with 50+ stitches in order to save his paw. Needless to say, I've been traumatized and have schlepped him back and forth to the vet 100 times in the past week. They have been so incredibly accommodating by staying late and opening up early for me. So, what says 'thank you' better than cupcakes? And chocolate peanut butter cupcakes at that.

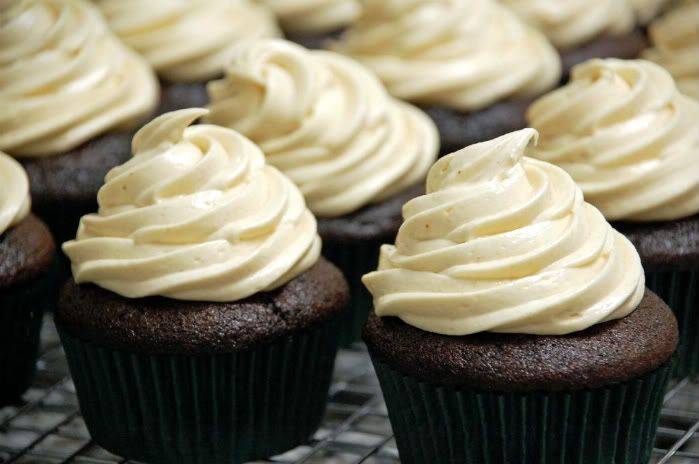
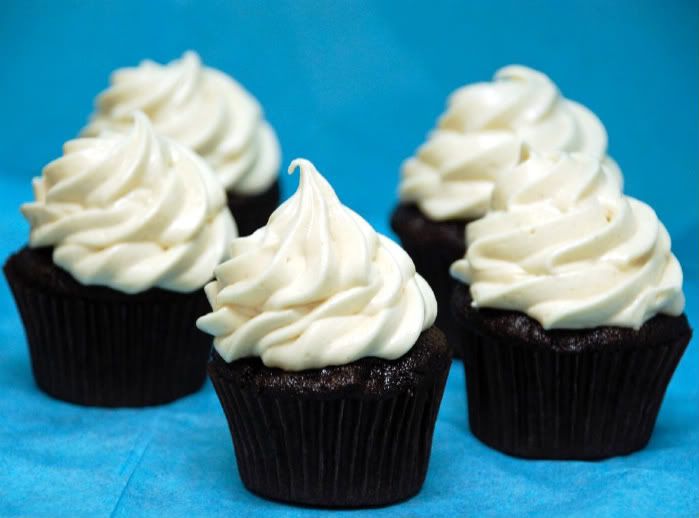
I have been reading/hearing about Martha's one-bowl chocolate cupcake recipe for over a year now and I figured it was finally time to test them out. I'm surprised it took me this long considering the rave reviews and incredible convenience of 'one bowl'. I busted out my very best Valrhona chocolate, silky creamy JIF peanut butter, and pretty hunter green cupcake liners. My very best thanks were in order. These cupcakes were deeeeelicious! They were chocolaty and moist and baked so beautifully. Each and every cupcake domed perfectly with brownie-like cracks on top. And the frosting-oh, the frosting. Peanut butter swirls with the utmost salt perfection. From here on out, I will add sea salt to all and everything peanut butter related. It should be a law. Oh, and of course I made a dozen minis for fun.

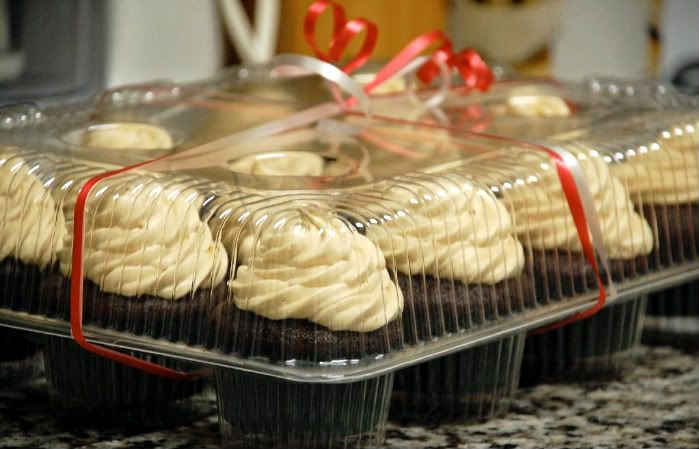
Above are the cupcakes packed up and ready for delivery! Enjoy!

Martha's One-Bowl Chocolate Cupcake Recipe found here.

Peanut Butter Frosting:
2 sticks butter
8 oz. cream cheese
4 cups powdered sugar
1 tsp. vanilla
1/2 cup all creamy peanut butter mixed with 1/2 tsp sea salt
2-3 tbsp of Milk or heavy cream (optional)

Cream butter until white and fluffy. Add cream cheese and vanilla and beat until well incorporated. Turn mixer to lowest setting and add 1 cup powdered sugar at a time, waiting until incorporated to add the next cup. Add milk or cream when the frosting looks like it's getting too thick. When all the powdered sugar is combined turn mixer back to high setting and beat for 2 min. Add peanut butter mixture. Enjoy!